Care Habits
How to clean greasy kitchen cabinets (wood, painted, laminate)
The safest way to clean greasy kitchen cabinets is warm water with a few drops of dish soap, applied with a damp microfiber cloth, followed by a rinse wipe and a dry towel. That handles most cooking film on wood, painted, laminate and thermofoil doors. Stronger products are only needed for old, baked-on grease, and they are where most finish damage happens.
The method barely changes between cabinet types. What changes is how much water the surface tolerates, how hard you can rub, and which products are off limits. This guide sorts that out by finish, then covers hardware, the cabinet tops, the doors above the stove, and a schedule that keeps grease from building up again.
Quick answer
- What you need: dish soap, two or three microfiber cloths, a soft toothbrush, a dry towel, optional baking soda and a degreaser made for kitchens.
- Time: about 30 to 45 minutes for a typical kitchen with 15 to 20 doors and drawers, plus extra for heavy buildup over the stove.
- Cost of supplies: low, since most households own everything on the list.
- Difficulty: easy, but it is repetitive. The risk is in using too much water or the wrong product, not in the work itself.
- How often: wipe high-touch spots weekly, do a full wash every month or two, and clean the doors near the cooktop more often.
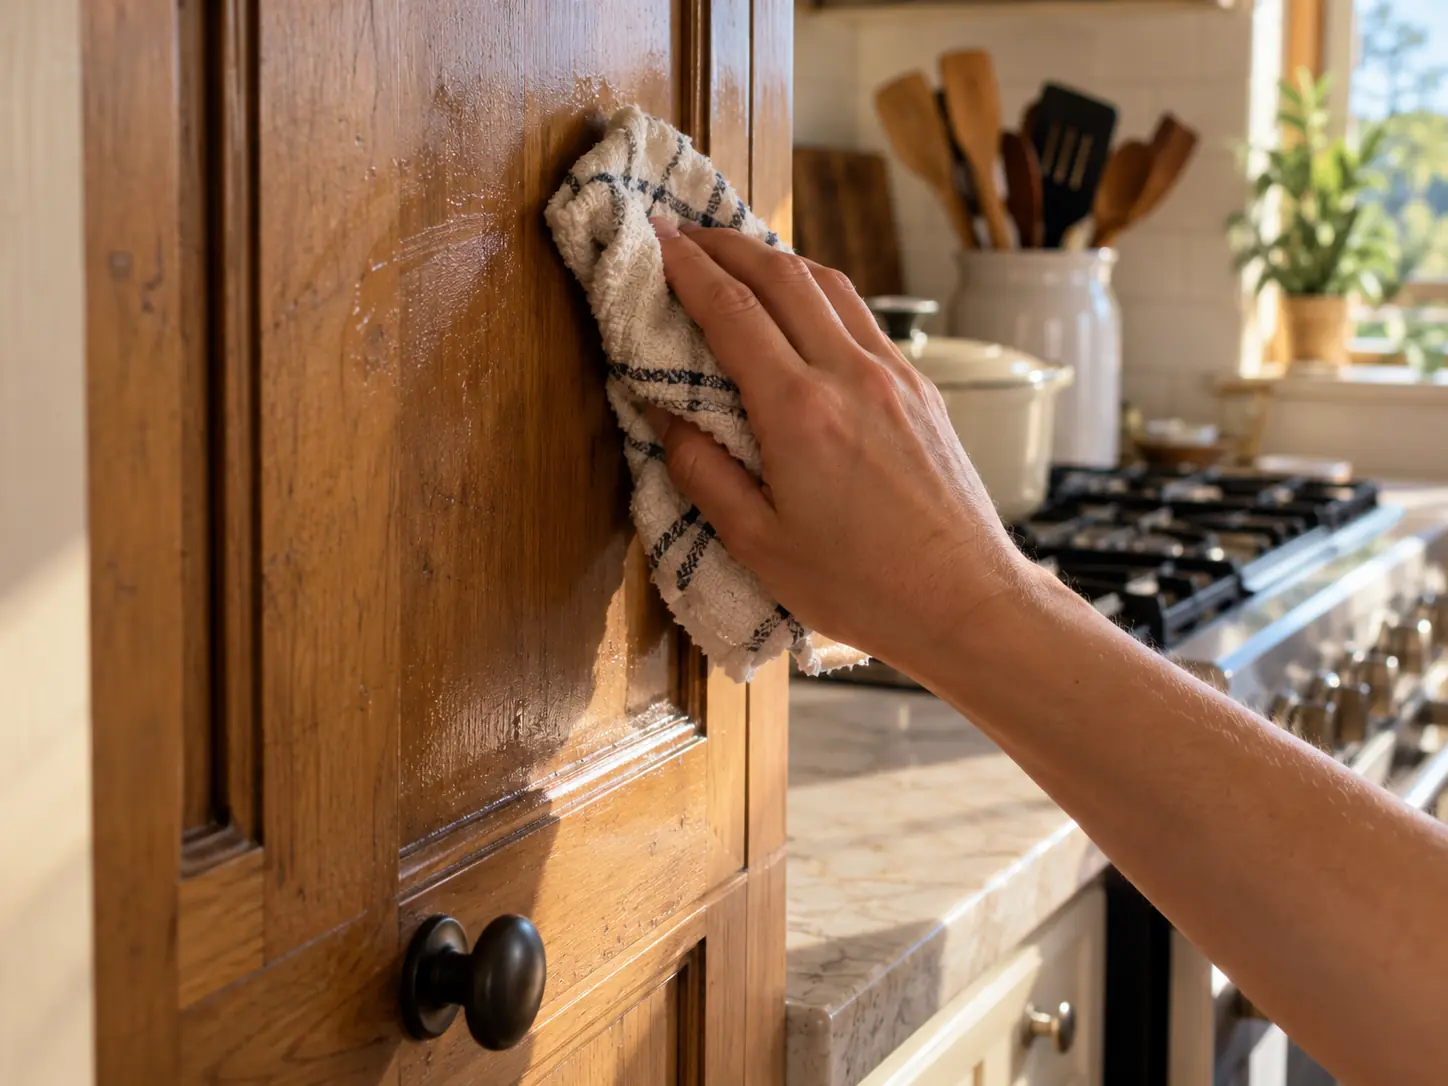
Why cabinets get sticky in the first place
Cooking grease does not stay in the pan. When you fry, sear, or simmer, fat leaves the pan as tiny airborne droplets and vapor. Those droplets drift up and settle on the nearest vertical and horizontal surfaces, which means the cabinets above and beside the stove take the most. The film is thin at first and nearly invisible.
Then it collects dust. Household dust sticks to the oily layer and turns it into a tacky gray coating. Over months, that coating can bond to the finish and darken. Cabinet doors also pick up skin oils, so the area around handles and knobs gets its own layer of grime, usually a mix of body oil, food residue, and soap film.
This is why grease cleaning is mostly a timing problem. Fresh film wipes off with soap and water. Film that has sat for a year and baked slightly under cooktop heat needs more dwell time and, sometimes, a stronger product.
Identify your cabinet finish first
Before you pick a cleaner, work out what the surface is. Door fronts in the same kitchen can even differ, for example painted wood doors with a laminate interior or a thermofoil end panel.
| Finish | How to recognize it | Water tolerance | Main risk |
|---|---|---|---|
| Sealed wood (stain and clear coat) | Visible grain, slightly glossy or satin, feels hard and smooth | Moderate, if wiped dry quickly | Standing water, dulling from harsh cleaners |
| Painted wood or MDF | Opaque color, brushstrokes or sprayed look, may have edges that show wood or fiberboard | Low to moderate | Chipping, softened paint, swollen MDF edges |
| Laminate | Very uniform pattern, thin plastic-like sheet over a core, seam along the edge | Low at the seams | Water getting under the edge and lifting the sheet |
| Thermofoil (vinyl wrap) | Smooth, often white or flat color, a thin film wrapped around a shaped door | Low, and heat sensitive | Peeling or bubbling near heat sources |
| Unfinished or oiled wood | Dry, slightly rough feel, water darkens it quickly | Very low | Stains and swelling |
| Glass or metal inserts | Clear panes or brushed metal | High | Streaks on glass, scratches on brushed metal |
If you are unsure, do a small test. Put a few drops of water on the inside of a door. On a sealed finish, the water beads. On unfinished wood, it soaks in and darkens the grain within seconds. Wipe it off immediately and treat that cabinet as unfinished.
Also check whether you have a manufacturer care sheet. Many cabinet makers publish care instructions for their finishes, and following those protects any warranty. When the sheet disagrees with a general guide like this one, follow the sheet.
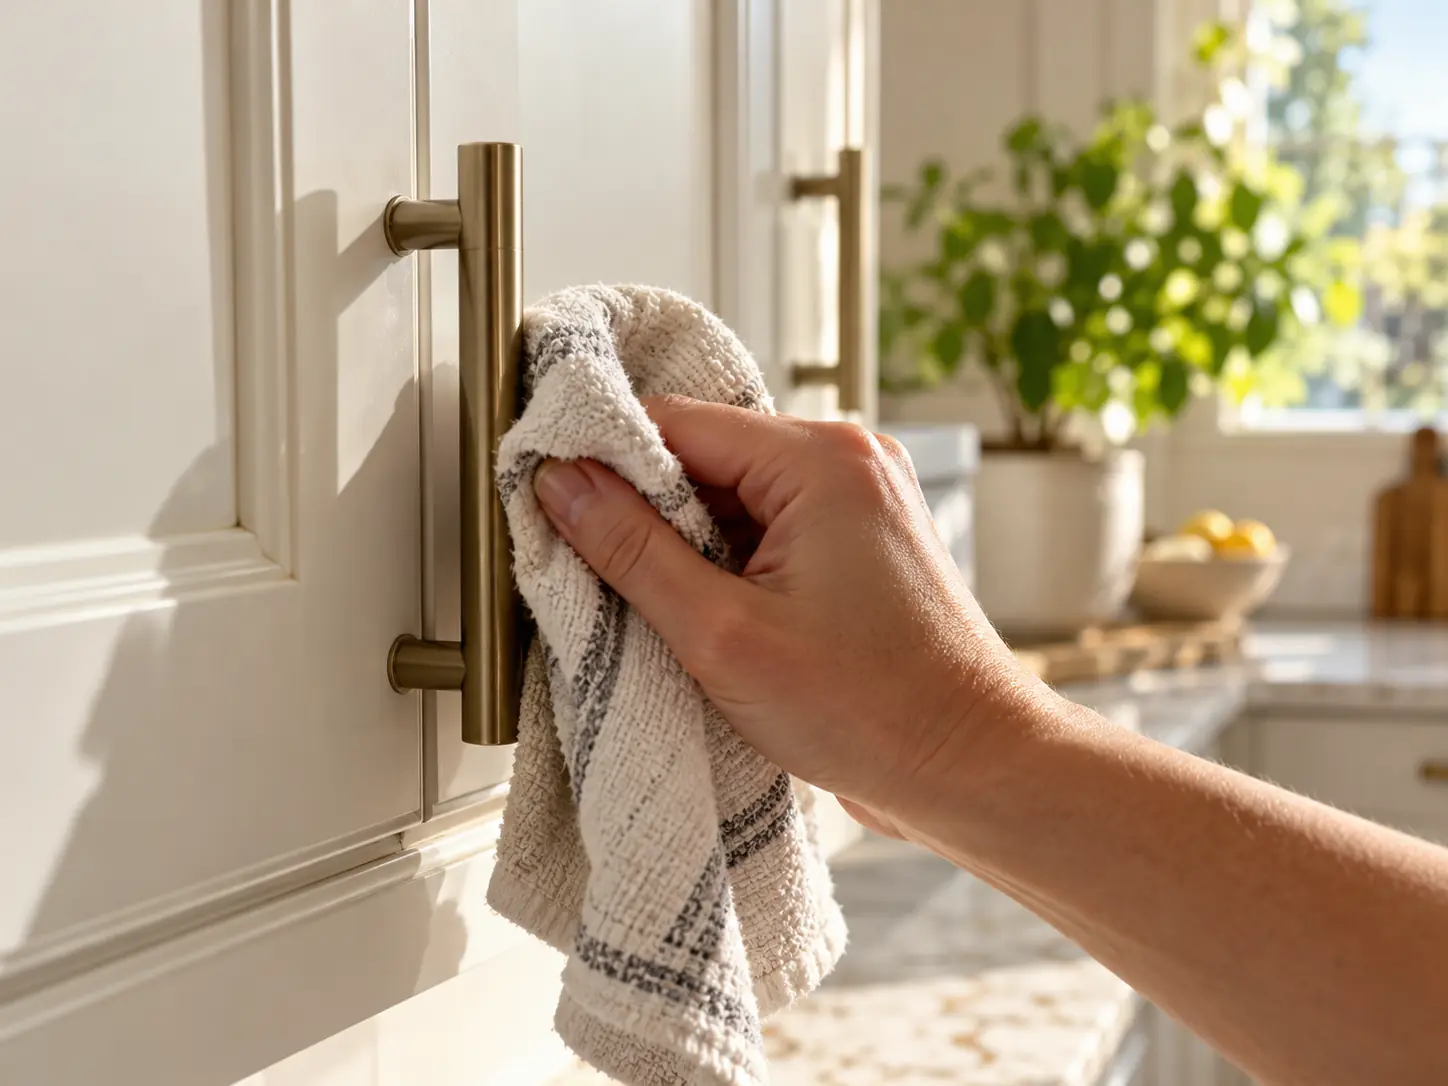
What to gather before you start
| Item | What it does | Notes |
|---|---|---|
| Dish soap (plain, not antibacterial concentrated gels with dyes) | Breaks down fresh grease | A few drops per bowl of warm water is plenty |
| Microfiber cloths (at least 3) | Lifts soil without scratching | One for washing, one for rinsing, one for drying |
| Soft toothbrush or detail brush | Cleans around hardware and in grooves | Keep it only for cleaning |
| Dry cotton or terry towel | Prevents water spots and edge damage | Dry right after each section |
| Baking soda | Mild abrasive paste for stubborn spots on tough finishes | Not for glossy or painted finishes without a test |
| Kitchen degreaser (alkaline, labeled safe for the surface) | Cuts old, baked-on grease | Read the label for cabinets, wood and painted surfaces |
| Plastic scraper or old gift card | Lifts crusted spots without cutting the finish | Hold at a low angle |
| Gloves | Protects hands | Dishwashing gloves are fine |
| Painter’s tape and a drop cloth | Protects the countertop and floor | Optional, helpful for a full wipe-down |
What to skip: steel wool, scouring pads, abrasive powders, ammonia-based products on any finish you cannot test, bleach on painted or stained surfaces, and anything that says it strips or refinishes. Magic-style melamine sponges also sit in this category. They work like very fine sandpaper, and on glossy or painted cabinets they can leave a dull patch.
Before you wipe anything: prep and test
Take 10 minutes to set up. It prevents the two things that ruin an afternoon: drips down the face of a door and discovering a bad reaction after you have already done the whole wall.
- Clear the counters under the cabinets you will clean, or cover them with a drop cloth. Wet cloths drip.
- Dust first. Run a dry microfiber cloth or a vacuum brush over the doors and the top edges. Wiping dust with a wet cloth smears it into a paste.
- Test in a hidden spot. The inside edge of a door, the back of a lower cabinet, or the side hidden by an appliance works. Apply the cleaner you plan to use, wait a minute, wipe, and check for color transfer, dulling, or tackiness.
- Ventilate. Open a window or run the hood fan, especially if you use a degreaser.
- Work in sections. Clean one door or one small run of doors at a time and dry before moving on. A whole wall wet at once is how water reaches the edges.
The basic method (works on most finishes)
- Mix the solution. Add a few drops of dish soap to a bowl of warm water. Do not use hot water, which can soften some finishes and speeds up evaporation, leaving soap film.
- Wring the cloth until it is damp, not wet. If water runs down your wrist when you squeeze it, wring it again. This is the single most important habit for cabinet care.
- Wipe the door in the direction of the grain (for wood) or in long, even strokes (for painted and laminate). Work from top to bottom so drips land on areas you have not cleaned yet.
- Let it sit for 30 to 60 seconds on sticky areas. The soap needs a moment to loosen the oil. Wiping hard right away is less effective than waiting.
- Rinse wipe. Use a second cloth dampened with plain water to remove soap residue. Leftover soap attracts dust and makes the surface feel tacky again within days.
- Dry immediately with the towel, paying attention to edges, seams and the lower rail of each door where water pools.
Typical time per door is a minute or two. Heavily soiled doors near the stove take longer, and you will likely repeat steps 3 to 5 once or twice.
Cleaning by finish
Sealed wood cabinets
Wood sealed with varnish, lacquer, or a catalyzed finish is more forgiving than people assume, as long as water does not stand on it. Use the basic method. For sticky buildup, apply the soap solution, wait a minute, and use a toothbrush in carvings and raised panel grooves.
Avoid heavy vinegar solutions on wood finishes. Some sources suggest a 50/50 vinegar and water mix for tough grease, and it can work, but acid exposure can dull a finish over time, so test first and keep it occasional rather than routine. After cleaning, a thin coat of a wood cabinet polish made for finished wood can restore sheen. Do not use oil-based furniture sprays on a kitchen cabinet that gets cooking vapor, since they can attract more dust and turn gummy.
Painted cabinets
Painted doors are the most common source of damage in a grease clean, because paint is softer than a clear coat and can lift if scrubbed. Use the basic method, with a very light touch. Skip scouring tools, bleach, and alcohol-based cleaners. If a spot will not move, do not scrub harder. Put a bit of soapy water on the spot, wait two minutes, and wipe again.
Cabinets painted with water-based paint that was never top-coated with a hard clear finish can soften when wet. If the cloth comes away with color, stop at once, dry the area, and leave it. That cabinet may need a touch-up or a protective top coat rather than more washing.
Laminate
Laminate is a plastic sheet bonded to a core, usually particleboard. The sheet itself is tough and handles dish soap well. The weak point is the seam: water that gets under an edge can swell the particleboard and lift the sheet.
Keep the cloth damp, avoid soaking the edges, and dry along every seam. For tough spots, a paste of baking soda and a little water on a soft cloth works on most laminate, but rub gently and test first on textured or matte laminate, which can polish unevenly. Glossy laminate scratches more visibly than matte, so skip abrasives there.
Thermofoil
Thermofoil is a vinyl film heat-pressed over a shaped core. It is common in builder-grade and rental kitchens and it dislikes heat and moisture. Use the basic method, and be extra sparing with water. Never use a steam cleaner on thermofoil. Doors beside an oven, toaster oven, or dishwasher vent are the ones that tend to peel first, so if you see an edge starting to lift, avoid wetting it and consider a repair or replacement door instead of more cleaning.
Unfinished or oiled wood
Treat these with caution. Use a barely damp cloth with a tiny amount of mild soap, wipe quickly, and dry at once. Stubborn marks may call for a light sanding and re-oiling rather than cleaning, which is a refinishing job, not a cleaning job.
Glass inserts and metal accents
Glass inserts take any glass cleaner or a vinegar and water spray, applied to a cloth rather than directly on the cabinet so it does not run into the frame. Brushed metal pulls should be wiped with the grain and dried. Avoid abrasive pads on brushed finishes.
Heavy, baked-on grease: the step-up options
If the basic method leaves a yellow-brown tacky layer, move up one step at a time.
| Step | Method | Best for | Avoid on |
|---|---|---|---|
| 1 | Longer soap dwell: lay a soap-damp cloth over the spot for a few minutes, then wipe | Most finishes | Unfinished wood |
| 2 | Baking soda paste with a soft cloth or toothbrush | Laminate, sealed wood, sealed metal | Glossy paint, matte laminate, thermofoil |
| 3 | A kitchen degreaser labeled safe for cabinets, sprayed on the cloth, not the door | Sealed wood, laminate | Painted surfaces unless the label allows it, unfinished wood |
| 4 | Plastic scraper at a low angle for crust | Hardened drips on flat panels | Soft paint, thermofoil |
| 5 | Professional or refinishing help | Grease that has bonded to or yellowed the finish | Not a DIY step |
Always test degreasers on a hidden area. Many are alkaline and strong enough to dull a clear coat or strip wax. Follow the label for contact time and rinse thoroughly. Wear gloves, keep the room ventilated, and do not combine products. Never mix a degreaser with bleach or anything containing ammonia. See our guide on which cleaning products never to mix before you set up a cabinet-cleaning station with more than one bottle.
If you prefer a gentler approach, our post on vinegar and baking soda for natural cleaning explains what those two do and where they backfire.
Hardware, handles and the dirty edges
Handles and knobs collect more skin oil and food residue than anything else on the door. Clean them before the doors so you are not dragging dirty water across a clean face.
- Removable hardware: Unscrew and soak knobs in warm soapy water for 10 minutes, scrub gently with a toothbrush, rinse, and dry fully before reinstalling. Check the manufacturer finish, since lacquered brass and plated hardware can tarnish or peel if soaked or scrubbed.
- Fixed hardware: Wipe with a soapy cloth, use a toothbrush around the base, and dry.
- Edges and the area around pulls: These spots hold dirt in the corners of molding and where a door meets the frame. A cotton swab dipped in soapy water reaches them.
- Door and drawer edges: The vertical edge you pull on picks up grime. Wipe it as you would the face.
Hinges can take a drop of lubricant, but wipe off any excess so it does not attract dust. Skip this unless a hinge squeaks.
The tops of cabinets (the dustiest and greasiest spot)
If your cabinets do not run to the ceiling, the top surfaces often hold a thick layer of grease and dust that nobody has seen in years. It is also the layer most likely to be deposited on your clean doors when someone brushes past.
- Vacuum or dust the top with a brush attachment first.
- Lay down a wipeable barrier. After cleaning, a sheet of plastic wrap, parchment, or a purpose-made cabinet-top liner catches the next layer of grease. Replace it every few months and the cabinet itself never gets dirty.
- Wipe the top with warm soapy water, then plain water, and dry.
Use a sturdy step stool, never a chair or counter edge. Cabinet tops are also a place where pests and stored items hide, so check for items before you wipe.
The cabinets above the stove
These doors face the heat and the cooking plume, so they deserve their own routine.
- Clean them every two to four weeks if you cook frequently, even if they look fine.
- Run the range hood fan during and for a few minutes after cooking. A hood that vents outside removes some grease before it settles. A recirculating hood with a clogged filter does very little.
- Wash the hood filter. Most metal filters can be washed by hand in hot soapy water or in a dishwasher, but check your manual. A greasy filter is a major reason the cabinets above get greasy.
- Check that thermofoil or laminate near the stove is not warping from heat. If it is, no cleaner will fix that.
Our post on how to clean a microwave covers the appliance often installed under these cabinets, and the oven cleaning guide tackles the other major grease source.
Cleaning the insides of cabinets
Insides rarely have the same grease problem, but they do accumulate crumbs, spills, and the sticky rings left by oil bottles.
- Empty the shelf or drawer.
- Vacuum crumbs.
- Wipe with a damp cloth and a bit of soap.
- Dry fully.
- Replace shelf liners if they are stained or smell musty.
Check the cabinet under the sink for moisture while you are in there. A damp floor or a musty smell can point to a slow leak, and that is a plumbing issue, not a cleaning issue.
Mistakes that damage cabinets
- Soaking the cloth. Water along door edges and seams is the leading cause of swelling and peeling. Keep the cloth damp.
- Using abrasives on gloss. A scouring pad or melamine sponge can scratch a glossy finish permanently.
- Skipping the rinse. Soap left behind attracts dust and returns the sticky feel. Always wipe with plain water.
- Spraying directly on the door. Product runs into hinges, seams, and the gap beside the frame. Spray onto the cloth.
- Using strong acids or alkalis without testing. Vinegar, lemon juice, and strong degreasers can dull finishes.
- Letting cleaners dwell too long. Stripping power rises with time. Follow the label.
- Scrubbing painted doors. If paint lifts, you have created a repair job.
- Ignoring the manufacturer. Your cabinet finish may have specific limits.
- Mixing chemicals. Combining bleach with ammonia, or acids with bleach, can release dangerous gases. Use one product at a time and rinse between them.
Troubleshooting
| Problem | Likely cause | What to try | When it will not work |
|---|---|---|---|
| Cabinet still feels tacky after cleaning | Soap residue or a thin layer of polymerized (cured) oil | A second rinse wipe, then a short dwell with a safe degreaser | The finish itself has become sticky with age, which needs refinishing |
| Dull patches after cleaning | A cleaner or abrasive removed gloss | Polish designed for the finish, if available | The finish is worn through |
| White haze | Mineral residue from hard water or leftover soap | Wipe with a cloth dampened with distilled water, then dry | Etched finish |
| Paint coming off on the cloth | Soft or uncured paint, or too much scrubbing | Stop, dry, and avoid water on that spot | Needs touch-up or a top coat |
| Swollen edges on laminate or MDF | Water exposure | None by cleaning | Repair, edge banding, or replacement |
| Dark grime in grooves | Grease plus dust packed into corners | Toothbrush with soapy water, cotton swab | Deep stains in raw wood |
| Yellow tint on white cabinets | Cooking film, age of the finish, or UV | Careful cleaning removes only the film | Yellowing within the finish needs refinishing |
| Smell lingers | Grease trapped on or in the cabinet interiors, or absorbed odors | Wash interiors, air out, use an open container of baking soda | Source is a plumbing leak or mold |
Orange County angle
Cooking vapor behaves the same everywhere, but a few local conditions affect cabinets in this region. Many Orange County kitchens have open windows for much of the year, and fine outdoor dust drifting in sticks to any greasy surface. Our post on why Orange County homes get dusty fast explains why that happens.
Hard water is common across parts of the county. If you use tap water for rinsing, mineral spots can show up on dark or glossy cabinets after they dry. Dry each section as you go, and consider a final wipe with distilled water if you see spotting. Check your local water provider’s quality report if you want to know how hard your water is.
Many homes here are condos and townhomes with HOA rules, and some rentals have original builder-grade thermofoil or laminate. If you rent, document the condition of the cabinets before you move out and be careful with aggressive cleaners, since damage can come out of a deposit.
How to keep cabinets from getting greasy again
Prevention is cheaper than the scrub. A few habits do most of the work.
| Frequency | Task |
|---|---|
| Every time you cook | Run the hood fan; use splatter screens for frying |
| Weekly | Wipe handles, knobs, and the doors beside the stove with a damp cloth |
| Every two to four weeks | Wipe cabinets above and beside the stove |
| Monthly | Wash all door fronts and handles; wash the hood filter if you cook a lot |
| Every three to six months | Replace the lining on cabinet tops; clean cabinet interiors |
| Annually | Check hinges, finish, and any sign of wear that calls for a touch-up |
If you want a shorter wipe routine, the habits in our guide to keeping the kitchen clean between cleanings fit neatly into this schedule, and the kitchen deep clean checklist shows where cabinets sit in a full kitchen reset.
A short protective step also helps: on sealed wood or painted cabinets, a manufacturer-approved polish or clear protective product can make future wiping easier. Always check that it is meant for your finish.
Doing it faster
A full cabinet wash is easy to put off because it feels like a big job. Break it into zones. Do the stove side on one evening, the sink side on another, and the pantry on a third. At 10 to 15 minutes each, nobody dreads it.
Work in a consistent order: top of the cabinets, upper doors, lower doors, drawers, then hardware. Keep fresh cloths ready, since a dirty cloth just moves grease around. Switch to a clean side, or a fresh cloth, every few doors.
When it is worth handing off
When it is worth handing off: Wiping every door, drawer front, and handle in a full kitchen is slow, repetitive work, and it tends to get skipped for months. Cabinet cleaning is a $35 add-on on our visits (see the deep cleaning page for what a full visit covers). It saves the weekend for people who would rather not spend it on a ladder.
For a sense of cost, take a 3 bedroom, 2 bathroom home. The base price is $60 + (3 x $25) + (2 x $35) = $205. A recurring clean uses a multiplier of 1.0, so $205. Adding cabinets is $35, so $240 for a one-time recurring-style visit before any discount. A deep clean multiplies the base by 1.5: $205 x 1.5 = $307.50. Weekly service takes 20 percent off the recurring price: $205 x 0.80 = $164. The instant quote on our pricing page shows your exact number for your home and services.
When to call a professional
Some cabinet problems are not cleaning problems.
- Finish failure. If the finish is peeling, bubbling, or sticky no matter what you do, you need refinishing or replacement, which is a cabinet or painting contractor, not a cleaner.
- Water damage. Swollen bases or a musty smell under the sink calls for a plumber and possibly a mold assessment.
- Delicate or antique pieces. A hand-painted or antique cabinet should be cleaned by someone who works with that finish.
- Heavy buildup across the whole kitchen. A first deep clean after a long gap is hard to do yourself. A crew with the right products and time can reset the room, and then regular upkeep takes minutes.
What you can do yourself: weekly wipes, the monthly wash, hood filter cleaning, and cabinet-top liners. What a team does better: the first big reset, high or awkward cabinets, and keeping the whole kitchen on schedule so grease never builds up.
If you would rather not spend a weekend on this, see our recurring cleaning service or get a price on the pricing page. New customers get $39 off the first clean.
Frequently asked questions
What is the best homemade cleaner for greasy kitchen cabinets? Warm water and a few drops of dish soap on a damp microfiber cloth. It is gentle, cheap, and safe on most finishes. Baking soda paste helps on tough spots on laminate and sealed wood, but test it first.
Can I use vinegar on kitchen cabinets? Diluted vinegar is sometimes used on laminate and sealed surfaces, but acid can dull some finishes over time, particularly wood and painted cabinets. Test in a hidden spot, keep it occasional, and rinse and dry afterward. Dish soap is the safer first choice.
How do I get sticky residue off kitchen cabinets? Sticky residue is usually a mix of grease and dust. Soap and warm water with a minute of dwell time, a rinse wipe, and drying remove it from most surfaces. If it keeps returning, there may be leftover soap residue or an aging finish.
Is it safe to use a magic eraser on cabinets? Not on glossy, painted, or lacquered finishes. These sponges work as a fine abrasive and can leave dull marks. If you try one, test in a hidden spot first and use very light pressure.
How often should I clean kitchen cabinets? Wipe handles and cabinets near the stove weekly, wash all door fronts monthly or every other month, and clean the top surfaces a few times a year. Heavy cooking calls for a shorter interval.
How do I clean cabinets that have never been cleaned? Work in stages, starting with the gentlest method and moving up. Expect several passes and some time, since old grease needs dwell time. If the finish is yellowed, damaged or sticky even after cleaning, it may need refinishing.
Can I use a steam cleaner on cabinets? Not on cabinets in general. Steam pushes heat and moisture into seams and can lift thermofoil or laminate and damage wood finishes.
What should I use on stained wood cabinets? Dish soap and water, then a wood cabinet polish made for finished wood if you want extra sheen. Avoid abrasive cleaners, ammonia, and heavy vinegar solutions.
Do I need to clean the tops of my cabinets? Yes, if they are exposed. They gather dust and grease that can fall onto your clean doors. A liner makes it easy to maintain.
What cleaner should I never use on cabinets? Do not use abrasives, bleach on painted or stained surfaces, or any product you have not tested in a hidden spot. Do not mix chemicals.