Care Habits
How to Clean a Microwave (Steam Method and Burnt-On Grime)
The easiest way to clean a microwave is to steam it: heat a microwave-safe bowl of water for 3 to 5 minutes, leave the door closed for a few more minutes so the steam softens the grime, then wipe the inside with a damp cloth. Most splatters lift in one pass. Dried-on or burnt food needs a second round with a little dish soap or baking soda paste, and the turntable, vents, and door seal need separate attention.
The steps below take about 15 minutes for a normal clean and up to 30 for a microwave that has been ignored for months. They are written for countertop and over-the-range models. Always check your user manual for any model-specific cleaning warnings.
Quick answer
- What you need: A microwave-safe bowl, water, dish soap, a microfiber cloth, a non-scratch sponge, and optionally white vinegar, lemon, or baking soda.
- Time: 5 minutes for a fresh splatter, 15 for a standard clean, about 30 for burnt-on grime.
- Cost of supplies: Close to nothing. Everything is usually already in the kitchen.
- Difficulty: Easy.
- How often: Wipe splatters the same day, do a steam clean about once a week if you use it daily, and a full clean (turntable, vents, door seal) monthly.
- Skip the steam method if: The microwave has a damaged interior, bare metal showing, or sparking history. Have it checked before using it again.
Safety first
Microwaves are simple appliances, but a few safety points matter before you start.
- Unplug it for the deep clean. For wiping and steaming, you can leave it plugged in. If you are reaching into vents, removing panels, or using wet cloths near controls, unplug it first. Over-the-range models are often hardwired or plugged in behind the unit, so check the manual before you pull anything.
- Beware superheated water. Water heated in a very smooth, clean container with no bubbles can get hotter than boiling without visibly boiling, then erupt when you move it or add something. To reduce the risk, use a wide bowl, do not overheat, place a wooden spoon or a microwave-safe stirrer in the bowl, and let the water sit for a minute after the timer ends before taking it out. Use oven mitts.
- Never run the microwave empty. It can damage the magnetron. Always have water or food inside while it runs.
- Do not put metal inside. That includes steel scrubbers, foil, and metal-trimmed dishes.
- Keep chemicals out. Do not spray strong chemical cleaners onto the vents, control panel, or inside walls. Spray onto a cloth, not directly onto the interior. Avoid bleach and oven cleaner entirely.
- Never mix cleaning products. Vinegar and bleach is the one most people forget. For the full list, read cleaning products you should never mix.
- Let the interior cool. The inside surface and the bowl will be hot after steaming.
What you need
| Item | What it does | Notes |
|---|---|---|
| Microwave-safe bowl or glass measuring cup | Holds the water for steam | Glass or microwave-safe ceramic. Avoid metal or cracked dishes |
| Water | Creates the steam that softens grime | Plain water is enough for light splatters |
| White vinegar (optional) | Mild acid that helps with odors and light film | Not required. Do not mix with bleach |
| Lemon slices or juice (optional) | Citric acid and fresh scent | Same job as vinegar with a pleasanter smell |
| Dish soap | Cuts grease | The most underrated item on the list |
| Baking soda | Mild abrasive and odor absorber | Use as a paste on stubborn spots |
| Microfiber cloths | Wipe without scratching | One damp, one dry |
| Non-scratch sponge | Loosens dried food | Never use steel wool |
| Old toothbrush | Reaches corners, vent slots | Soft bristles only |
| Wooden spoon or stirrer | Prevents superheating | Optional but useful |
Do not use: Steel wool, abrasive powders, oven cleaner, bleach, or paper towels that shred and leave lint in the vents.
Steam methods compared
All steam methods work on the same principle: heat plus moisture softens dried food so it wipes off. The differences are small.
| Method | How it works | Best for | Notes |
|---|---|---|---|
| Water only | Steam softens splatter | Fresh or light buildup | Safest and the cheapest option. Works for most cases |
| Water + white vinegar | Steam plus mild acid | Light film, general odors | Smell is strong during and after. Ventilate. Do not use in a microwave that is also cleaned with bleach products |
| Water + lemon | Steam plus citric acid | Light odors, fresh scent | Slice a lemon, or use juice. Slightly weaker on grease than soap |
| Water + dish soap | Steam plus surfactant | Greasy splatter | Add a drop only, too much will foam and leave residue |
| Commercial microwave steam cleaner (reusable plastic cover or bowl) | Contained steam | Convenience | Check it is rated microwave-safe and follow the product instructions |
| Wet dish towel or damp sponge heated | Steam and heat | Light wipe | Use only a microwave-safe sponge with no metal. Watch it closely |
For most people, plain water plus a splash of vinegar or a squeeze of lemon is the standard choice. If the microwave is greasy rather than just splattered, add soap to the wiping step rather than to the steam bowl.
Is it safe to microwave vinegar? Generally yes, in a small amount mixed with water, in a microwave-safe bowl. Stronger concentrations can irritate your eyes and nose, and undiluted vinegar can leave a smell that lingers. Use about a quarter to half a cup of vinegar per cup of water at most, and ventilate the kitchen. If your manual warns against it, follow the manual.
Step by step: the standard clean (about 15 minutes)
Step 1: Remove the turntable and ring (1 minute)
Take out the glass turntable plate and the plastic roller ring under it. Set them in the sink. Check the floor of the microwave for crumbs and spills underneath.
Step 2: Fill the bowl and heat (4 to 6 minutes)
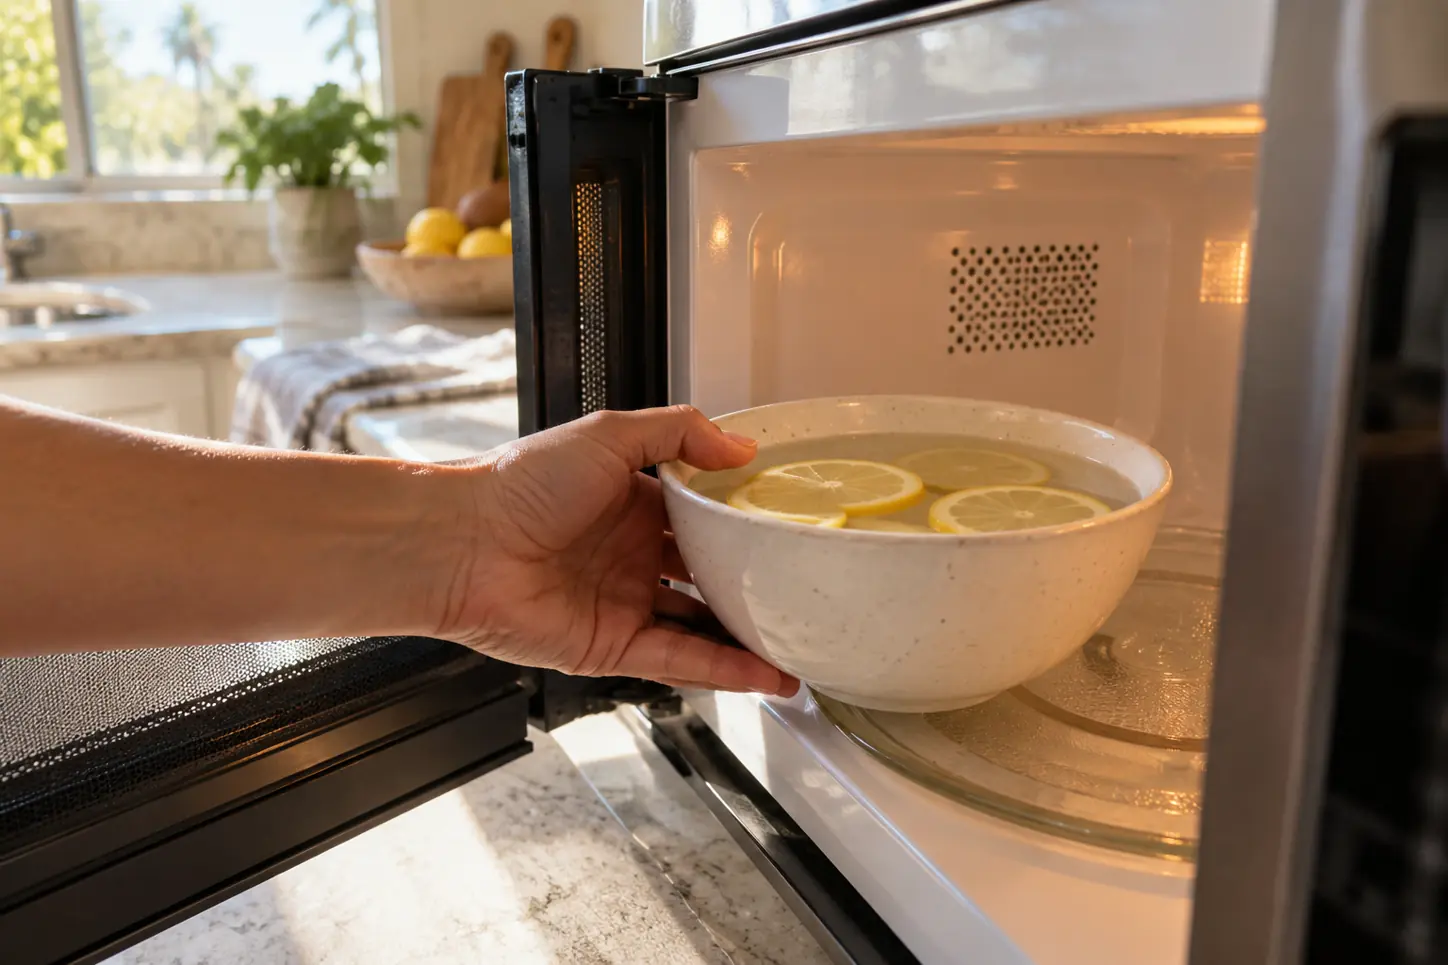
Pour about one cup of water into a microwave-safe bowl. Add two tablespoons of white vinegar or a few lemon slices if you want a fresher result. Place a wooden spoon or stirrer in the bowl.
Heat on high for 3 to 5 minutes, until the window is fogged and you can see steam. Larger or older microwaves sometimes need a minute or two more. Water does not need to boil hard. Do not leave it running far past the point where steam appears.
Step 3: Let it sit with the door closed (5 minutes)
This is the step most people skip. The steam keeps working after the timer ends, softening dried splatter on the ceiling, walls, and door. Leave the door shut for at least 5 minutes.
Step 4: Remove the bowl carefully
Open the door, use oven mitts, and lift out the bowl. It will be hot. Do not tip it. Set it down on a heat-safe surface and let the water cool before pouring it out.
Step 5: Wipe from top to bottom (3 to 5 minutes)
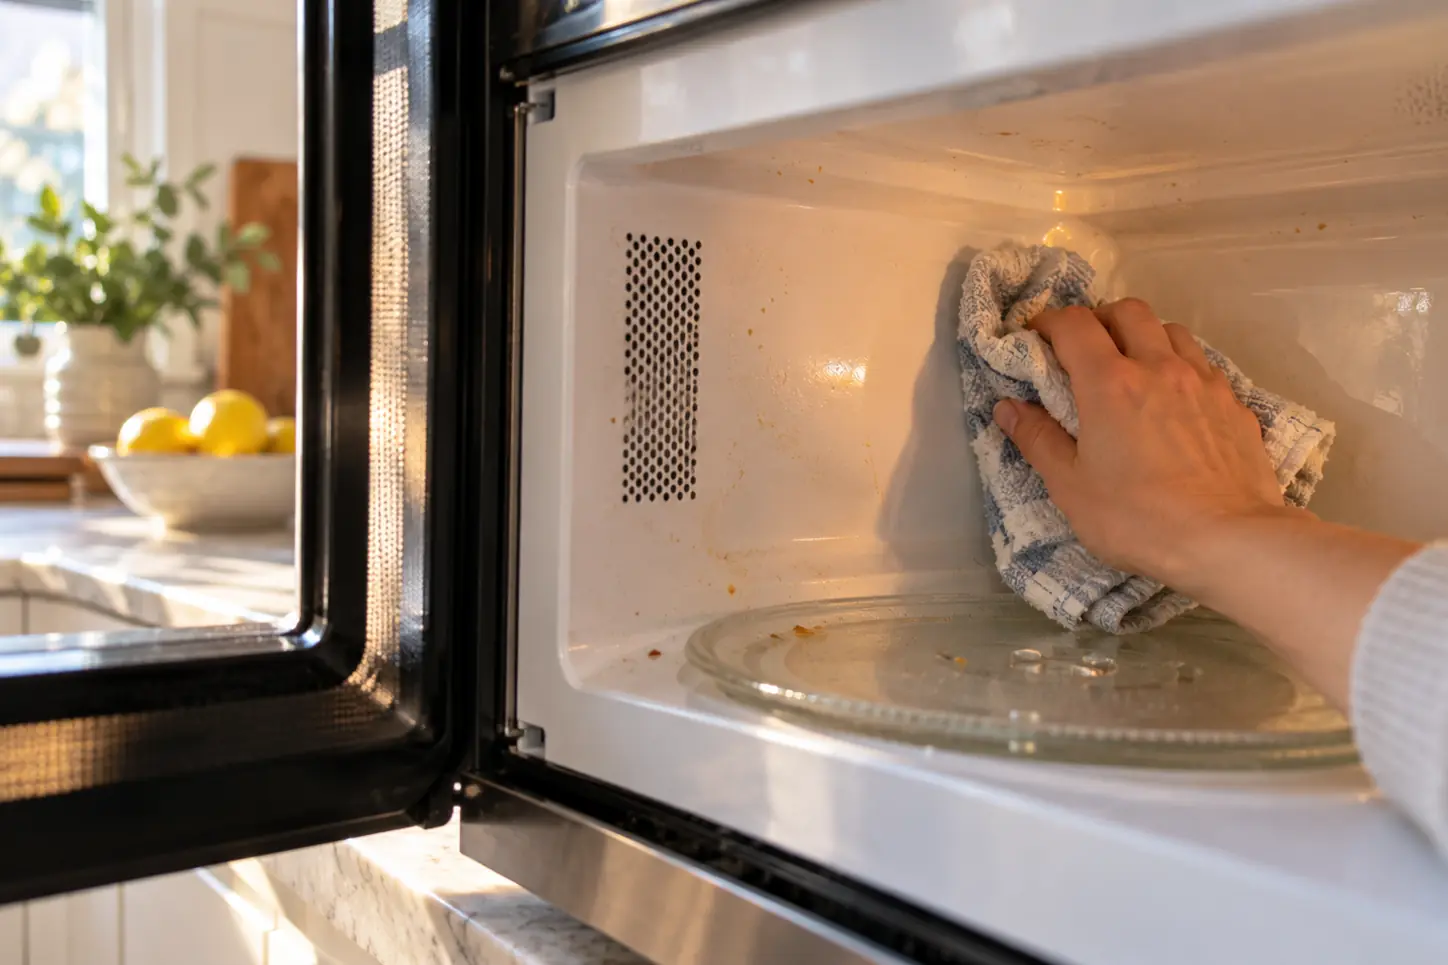
Use a damp microfiber cloth. Start with the ceiling, then the walls, the door, and finally the floor. This order keeps crumbs and drips from landing on a surface you already cleaned.
For a stubborn patch, add a drop of dish soap to the damp cloth and rub gently. Rinse the cloth with plain water and wipe again to remove soap residue.
Step 6: Wash the turntable and ring (2 minutes)
Wash with warm water and dish soap. Most glass turntables are dishwasher-safe, but check your manual. Dry thoroughly before putting them back, and make sure the ring is seated properly so the plate spins freely.
Step 7: Dry and leave the door open (1 minute)
Wipe the interior with a dry cloth, then leave the door open for 10 to 15 minutes to air out.
Why this works: Dried food is mostly water-soluble starches, sugars, and proteins, plus grease. Steam rehydrates the starches and sugars, so they release without scrubbing. Dish soap handles the grease. The combination removes grime with very little abrasion, which protects the interior coating.
Burnt-on food and stubborn spots
Some messes survive one round of steam. Cheese, tomato sauce, and egg are the usual culprits.
Method for burnt-on spots
- Steam first. Complete steps 2 and 3 above. Do not skip them, because dry scrubbing is how interiors get scratched.
- Make a baking soda paste. Mix 2 tablespoons of baking soda with about 1 tablespoon of water.
- Apply to the spot with a damp cloth or a soft sponge, and let it sit for 5 to 10 minutes.
- Rub gently in small circles with a non-scratch sponge. Use a toothbrush for corners.
- Wipe with a damp cloth until no paste remains, then dry.
If it is still there
- Repeat the steam and paste once.
- Try a dab of dish soap on the spot and let it sit for 10 minutes before scrubbing.
- A plastic scraper (old gift card or a plastic spatula) can lift thick, hardened spots after steaming. Hold it at a low angle and never use a metal blade.
Know when to stop. If the interior coating is peeling, flaking, or if bare metal shows, stop cleaning and read the section on damage below. Scrubbing a damaged coating makes it worse.
Turntable, vents, door seal, and other parts
Most people clean the inside walls and stop. The parts below hold grease and grime that affect smell and performance.
Turntable and roller ring
Food slips under the glass plate and burns onto the roller ring, causing odors and a jerky spin. Wash both after every deep clean. If the ring has crust in its track, loosen it with a damp toothbrush.
Door seal and hinge area
The rubber or plastic edge around the door gathers grease and crumbs. Wipe it with a damp cloth and a drop of soap, then dry it. A cotton swab works well in the corners. A clean seal helps the door close properly. If the seal is cracked, torn, or the door does not close cleanly, stop using the microwave and have it checked.
Vents and grille
On countertop models, the vents are slots on the sides, back, or top. Wipe the outer slots with a toothbrush and a dry cloth. Do not push liquid into the openings. On over-the-range models, the vent filter and grease filter sit on the underside or top. Many are removable and washable. Check your manual: some metal filters can go in warm soapy water, others should be replaced. A clogged filter can make a microwave run less efficiently and hold odors.
The waveguide cover
Inside, there is often a small rectangular cover (usually mica or plastic) on the wall or ceiling. Food spatter on this cover can burn and spark. Wipe it gently with a damp cloth. Do not soak it. If it is burnt, cracked, or crumbling, it needs to be replaced. Most manuals describe the part, and replacement covers are inexpensive.
Interior light
On over-the-range models, wipe the cooktop light cover with a damp cloth when the unit is cool and unplugged.
Exterior, handle, and control panel
The outside gets handled all day, which makes it a surprising source of germs and grease.
- Unplug the unit if you will be using a damp cloth near the controls.
- Wipe the door and handle with a cloth dampened with warm water and a little dish soap. Dry well.
- Clean the control panel with a barely damp microfiber cloth. Never spray directly. Wipe buttons with a cotton swab.
- Stainless steel exterior: Wipe along the grain. See how to clean stainless steel appliances for finish-specific advice.
- Glass or touchscreen panels: Use a dry microfiber cloth, or a cloth barely dampened with water. Avoid ammonia-based glass cleaners on coated panels unless the manual allows them.
Odor removal
Lingering smells come from burnt popcorn, fish, garlic, and old splatter. Cleaning the source is the main fix, but a few tricks help.
| Odor | What to try | Notes |
|---|---|---|
| Burnt popcorn | Steam with water and lemon or vinegar, then leave the door open | Clean the turntable and ring too, since smoke settles there |
| Fish or strong food | Steam with lemon, then wipe all surfaces | Wash the door seal |
| Old, musty smell | Clean the vent filter, the seal, and the floor under the turntable | Leave the door open for several hours |
| Chemical smell after cleaning | Wipe again with plain damp cloth, leave the door open | Residue from cleaners is often the cause |
| Plastic smell after microwaving containers | Check container safety. Wipe interior and air out | Use only microwave-safe containers |
For a general deodorizer, place a small bowl of baking soda inside with the door closed overnight. Remove it before using the microwave. Some people use coffee grounds or activated charcoal in an open container. Both work through the same absorption principle.
If a burnt smell lasts after thorough cleaning, check the waveguide cover, the vent filter, and any food that fell behind the turntable.
What not to put in a microwave (and what damages it)
| Mistake | Why it is a problem |
|---|---|
| Steel wool or metal scrubbers | Scratch the interior coating and can leave metal fragments that spark |
| Abrasive cleaning powder | Scratches and dulls the walls |
| Spraying cleaner directly onto controls or into vents | Liquid can get into electronics |
| Running it empty | Can damage the magnetron |
| Foil or metal-trimmed dishes | Can cause arcing (sparks) |
| Closed containers and sealed eggs | Pressure can build and cause them to burst |
| Plastic that is not labeled microwave-safe | Can warp, melt, or leach into food |
| Soaked sponges with metal scrubbers | Same sparking risk |
| Bleach or oven cleaner | Harsh fumes, damage to the coating, and food-contact residue |
| Leaving spills to dry | Makes cleaning harder and can lead to burnt spots |
Prevention: keep it clean longer
The easiest microwave to clean is the one that never gets dirty. A few habits prevent most of the work.
- Use a microwave cover or vented lid over bowls and plates. A reusable splatter cover works better than paper towels because it is the right size and does not tear.
- Wipe splatters right away. A damp paper towel while the interior is still warm clears most spills in seconds.
- Do not overfill containers. Soup, pasta sauce, and gravy are the usual offenders. Leave an inch or two at the top.
- Stir halfway through heating, which reduces boil-overs and uneven hot spots.
- Use a deeper dish for liquid-heavy meals.
- Clean the turntable with the dishes. If the plate is dishwasher-safe, put it in once a week.
Cleaning schedule
| Task | How often |
|---|---|
| Wipe visible splatter | Same day |
| Steam clean | Weekly for daily use, every 2 weeks otherwise |
| Wash turntable and ring | Weekly to monthly |
| Wipe door seal and exterior | Weekly |
| Clean vent filter (over-the-range) | Monthly or as the manual says |
| Check waveguide cover | Every few months |
If you use your microwave heavily or share the kitchen with a large family, move everything one step more frequent. For a broader picture of how this fits in with the rest of the kitchen, see keeping your kitchen clean between cleanings.
Troubleshooting
| Problem | Likely cause | What to try | When it will not work |
|---|---|---|---|
| Stuck-on food after steaming | Dried sugars or cheese | Baking soda paste, longer dwell time | If the surface is already scratched or peeling |
| Streaks on the door | Soap residue | Wipe with plain damp cloth, then dry | Etched or scratched glass |
| Persistent odor | Burnt residue in the vent, filter, or waveguide cover | Replace or clean these parts | If the smell is electrical or chemical, stop and unplug |
| Turntable wobbles | Food under the roller ring | Remove, clean, reseat | Cracked ring or damaged motor coupling |
| Rust-colored spots inside | Exposed metal where paint is chipped | Do not scrub. Consider repair | Microwave with a rust spot near the waveguide cover or seams may need service |
| Sparks | Metal, foil, or damaged waveguide cover | Stop immediately, unplug, inspect | Replace the cover or the appliance |
| Microwave heats unevenly | Dirty waveguide cover or turntable issue | Clean parts | If cleaning does not help, the appliance may need repair |
A word on damage: If the interior paint or coating is chipping, flaking, or there is exposed bare metal, or if the door does not seal properly, the appliance may no longer be safe or efficient. Stop using it and consult the manufacturer or a technician. Replacement is often more practical than repair on older, inexpensive models.
Skip this step: The microwave is only one part of the kitchen. If the oven, fridge, and cabinets all need work at the same time, a deep cleaning visit covers the full kitchen in one go, and the appliance exteriors are part of that work.
Hard water and the Orange County angle
Microwave interiors are not affected by hard water, since you are not running tap water through them in a lasting way. But if you steam with tap water, you can sometimes leave a faint mineral film on the glass door after wiping, particularly in areas where tap water is hard. Much of Orange County has fairly hard water, so check your local water quality report to see where your home sits. If you see a film after cleaning, a final wipe with a barely damp cloth and a dry buff cleans it up. Using filtered or distilled water for steaming avoids the issue entirely.
Coastal homes sometimes see a thin layer of salty dust on the microwave exterior. A damp cloth with a drop of soap removes it. In condos and townhomes where the microwave sits above a stove, grease from cooking reaches the underside and filters faster than in a standalone unit, so check the filters on the monthly list.
Common mistakes
- Wiping before steaming. Dry food needs the steam to release. Wiping first just smears it.
- Scrubbing too hard. The interior coating is thin. Gentle pressure and a longer dwell time work better than muscle.
- Forgetting the door seal and vents. Odors usually come from these.
- Using too much soap in the steam bowl. It foams and can overflow. Keep soap for the wiping stage.
- Pouring cold water into a hot bowl, which can crack ceramic. Let it cool.
- Leaving the door closed after cleaning. Damp air and a closed door breed mildew smell. Leave it open.
- Ignoring the manual. Some models have special coatings, and the manual names what to avoid.
Frequently asked questions
What is the easiest way to clean a microwave?
Steam it. Heat a bowl of water for 3 to 5 minutes, let it sit with the door closed for 5 more, then wipe with a damp cloth. Add a drop of dish soap on the cloth for greasy spots.
Does vinegar and water clean a microwave?
Yes, in the same way plain water does. The steam does most of the work. Vinegar adds a little help with odors and light film, but it is not necessary. Dish soap is better for grease.
How do you get burnt smell out of a microwave?
Clean the source first: the turntable, the roller ring, the door seal, the waveguide cover, and any food under the plate. Then steam with water and lemon or vinegar, wipe, and leave the door open to air out. A bowl of baking soda overnight helps with what is left.
Is it safe to microwave vinegar?
In a small amount, mixed with water, in a microwave-safe bowl, it is generally fine. The fumes can be sharp, so ventilate the kitchen and do not use undiluted vinegar. Never use it near bleach products.
How often should you clean a microwave?
Wipe spills the same day, steam clean weekly if you use it often, and do a full clean of the turntable, seal, and vents monthly. If you reheat messy foods, clean more often.
Can I use bleach or oven cleaner in a microwave?
No. Both leave fumes and residue that are not suitable for a food appliance, and they can damage the interior coating. Use water, mild soap, and baking soda.
Why does my microwave smell even after cleaning?
Look for hidden sources: food under the turntable or roller ring, a greasy vent filter, a dirty door seal, or a burnt waveguide cover. If none of those are the cause and the smell is chemical or electrical, unplug it and have it checked.
Can I clean the microwave with a wet sponge in the microwave?
You can heat a wet sponge only if it is a microwave-safe type with no metal, and only briefly while watching it. A bowl of water is safer and easier.
Is it okay if the microwave paint is chipping inside?
Small chips can sometimes be cleaned around, but exposed metal or peeling coating can cause sparking and may trap food and moisture. Stop using it if the damage is near the door seal or waveguide cover, and check with the manufacturer or a technician.
Do I need to unplug the microwave to clean it?
For steaming and wiping the interior, not usually. For the exterior controls, vents, or any deeper work, unplug it first. Check your manual, and note that some over-the-range units cannot be easily unplugged.
When to call a professional
A steam clean and a wipe handle most microwaves in 15 minutes. The jobs to hand off are the ones around it: the grease on the cabinet above, the filter over the range, the oven below, the tile backsplash, and the tops of cabinets. Those take longer and use different products.
Call a professional if:
- The microwave has electrical or burning smells that cleaning does not fix. That is a repair question, not a cleaning one.
- The kitchen as a whole has built-up grease and you would like a full reset.
- You are moving and need the appliances cleaned for a deposit, in which case a move-out cleaning covers them as part of the kitchen. Our guide on security deposits and move-out cleaning in California has the general picture.
You can keep doing the weekly microwave steam yourself. It takes less time than most of the other kitchen tasks, and it keeps the appliance working properly.
To see what a visit would cost for your home, use the instant quote on our pricing page. As a worked example, a two bedroom, two bathroom home is (60 + 25 x 2 + 35 x 2) = $180 on our formula, and a deep cleaning at the 1.5 multiplier is $180 x 1.5 = $270. For related kitchen work, see the kitchen deep clean checklist and the guide to cleaning the oven without harsh chemicals.