Care Habits
How to Deep Clean a Refrigerator (and How Often)
Deep clean a refrigerator by emptying it into a cooler, washing removable shelves and drawers in warm soapy water, wiping the interior with a mild baking soda or dish soap solution, cleaning the door gaskets, drying everything, and putting back only food that is still good. Plan on 45 to 90 minutes. Do it every 3 to 4 months, and wipe spills the day they happen. You do not need bleach, and you do not need to unplug the fridge for a normal clean.
This guide covers how often to clean each part, how to keep food safe while you work, the step-by-step method, odor removal, the freezer, the coils, what to toss and when, and the mistakes that crack glass shelves or leave smells behind.
Quick answer
- Time: 45 to 90 minutes for the fridge, plus 30 to 60 minutes if you defrost or clean the freezer thoroughly.
- Supplies cost: usually under $10: dish soap, baking soda, microfiber cloths, and a cooler.
- Difficulty: easy, though the work is more tedious than hard.
- How often: wipe spills right away, quick shelf wipe monthly, deep clean every 3 to 4 months, coils once or twice a year.
- Skip the DIY if: the fridge has strong sewage-like odors that return, ice buildup that keeps coming back, or mold inside the walls or seals that you cannot remove. Those can point to an appliance fault or a damaged seal.
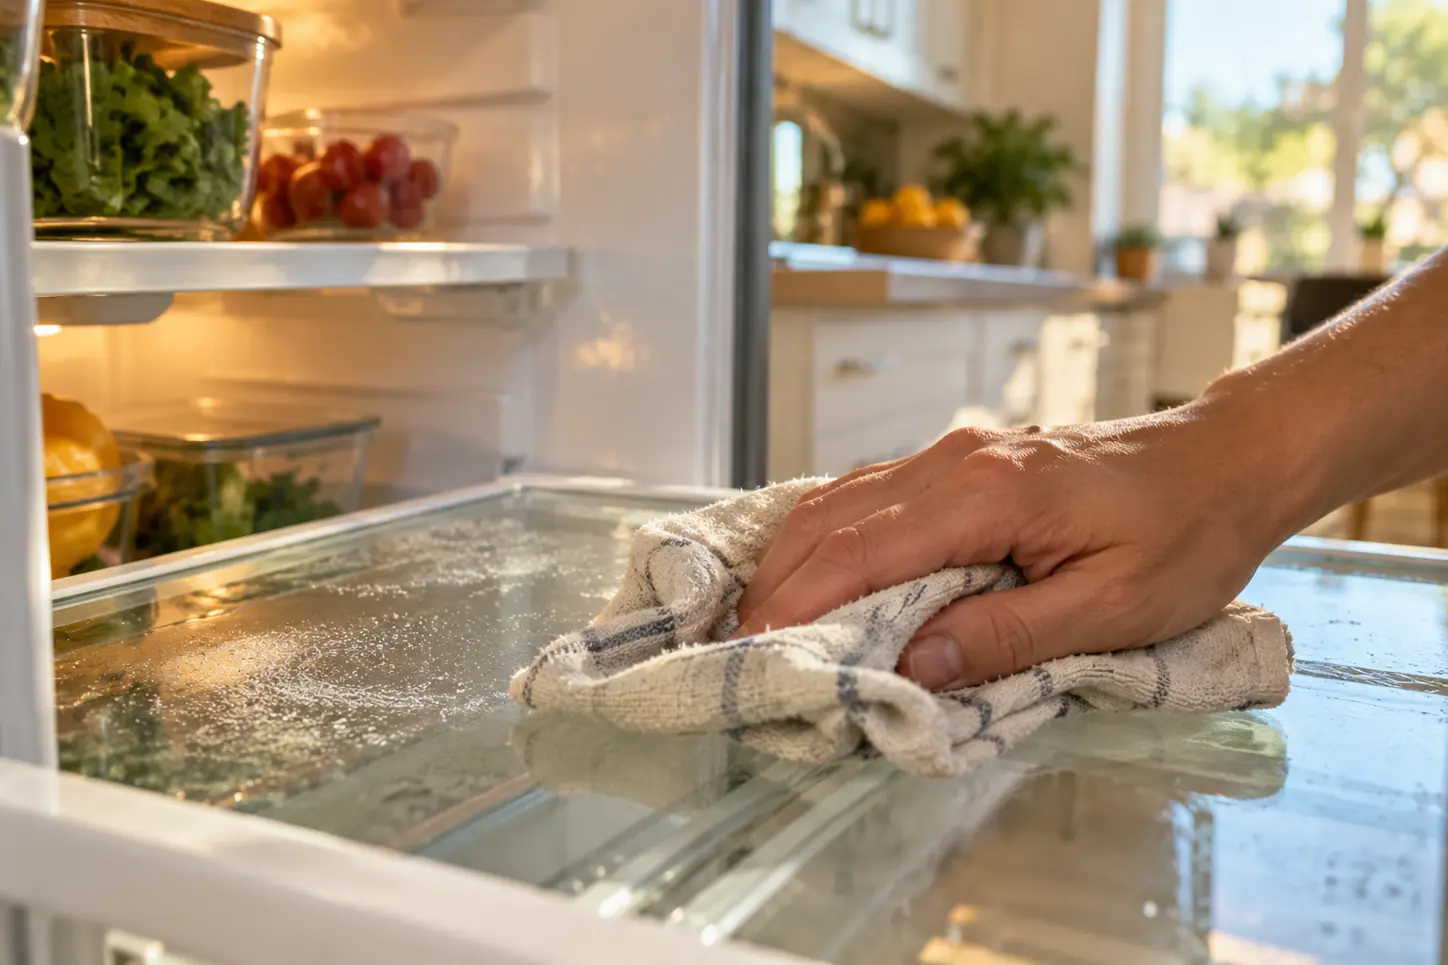
How often to clean each part
Different zones get dirty at different speeds. Use this table to decide what is due.
| Zone | How often | Why |
|---|---|---|
| Spills and drips | Same day | Sticky spills spread, attract bacteria, and are much harder once dry |
| Shelves and door bins (wipe) | Monthly | Keeps jar rings and drips from building up |
| Produce drawers | Monthly, or when produce leaks | Moisture and leaf debris cause smells |
| Full interior deep clean | Every 3 to 4 months | Resets everything, including walls and gaskets |
| Door gaskets | Every 3 to 4 months | Mold and grime collect in the folds |
| Check dates, toss expired food | Weekly | Prevents smells and spoilage |
| Freezer | Twice a year | Clears crumbs, spills, and freezer burn |
| Condenser coils | Once or twice a year (more with pets) | Dust blocks airflow and makes the fridge work harder |
| Drip pan (if accessible) | Twice a year | Standing water can smell |
| Water dispenser and filter | Per maker’s guidance | Filters have replacement schedules |
If you cook often, have kids, or store lots of fresh produce, shift toward the shorter end.
Safety first
- Food safety first. Perishable food should not sit at room temperature for long. A common guideline is no more than 2 hours, and 1 hour on a hot day. Keep an ice-packed cooler ready.
- Never use bleach straight on interior surfaces, and never mix it with other cleaners. Bleach can leave fumes and odor that transfer to food. See our guide on cleaning products you should never mix.
- Use food-safe cleaners. Mild dish soap and baking soda are enough.
- Do not use abrasive pads or powders on plastic liners. They scratch, and scratches trap odor.
- Let glass shelves come to room temperature before washing them in warm water. Sudden temperature change can crack cold glass.
- If you pull the fridge out for coil cleaning, unplug it first (see below), and check the manual.
What you need
| Item | What it does | Notes |
|---|---|---|
| Cooler and ice packs | Keeps food safe while you clean | Fill the cooler with perishables first. |
| Dish soap | Cuts grease and food residue | A few drops in warm water. |
| Baking soda | Gentle cleaner and deodorizer | About 1 tablespoon in a quart of warm water. |
| Microfiber cloths and sponges | Wipe surfaces | Several, so you can swap. |
| Old toothbrush | Gasket folds, vents, corners | Soft bristle. |
| Spray bottle | Applies cleaner evenly | Helps on walls and the ceiling. |
| Towels | Dries shelves and bins | Dry surfaces reduce mold. |
| Trash bags | For expired food | Double bag anything that smells. |
| Vacuum with brush attachment | Cleans coils and the grille | For the back or bottom of the fridge. |
| Coil brush (optional) | Reaches condenser coils | A long, narrow brush. |
| White vinegar (optional) | Wipes mild mold on gaskets | Diluted. Not on all materials. See notes. |
| Gloves | Protects hands | Especially for spoiled food. |
Prep: empty the fridge safely
- Plan the time. Choose a day when you are not about to grocery shop, or shop after.
- Set up a cooler with ice packs, and a clear counter space.
- Check dates while you empty. Toss anything expired, moldy, or unlabeled leftovers that are past their time. See the toss table below.
- Put perishables in the cooler first: dairy, meat, eggs, and leftovers. Shelf-stable items like jars of mustard and sealed sauces can sit on the counter for a short time.
- Group like items on the counter so you can put them back in order.
If your fridge is very full, work in sections: clean the top half, restock it, then do the bottom half. This keeps food out of the fridge for less time.
Step by step: the full interior clean
Step 1: Remove shelves, drawers, and bins (5 to 10 minutes)
Slide or lift out removable parts. Take a photo of the layout if you want to put things back the same way. Some shelves have a set position, so check the manual if one does not slide out easily.
Set glass shelves aside until they reach room temperature. Putting a cold glass shelf under hot tap water risks cracking.
Step 2: Wash removable parts (10 to 15 minutes)
Wash shelves, drawers, and bins by hand in warm water with a few drops of dish soap. Use a sponge or soft cloth. Scrub gently with an old toothbrush where grime has built up in grooves. Rinse well. Dry with a clean towel, or let them air dry fully before putting them back. Wet shelves can grow mold and cause sticking.
Many drawers and bins are not dishwasher-safe, since heat can warp plastic. Check before you load them.
Step 3: Wipe the interior walls, ceiling, and floor (10 to 15 minutes)
Mix about 1 tablespoon of baking soda in a quart of warm water, or a few drops of dish soap in warm water. Dip a cloth, wring it well, and wipe from top to bottom: ceiling, back wall, side walls, then the floor. Work from the cleanest area to the dirtiest so you do not drag grime.
For sticky spots, hold a damp cloth on them for a minute to soften, then wipe. Do not spray liquid directly onto the back wall near vents or electronics, because it can enter parts that should stay dry.
Step 4: Clean the vents and drain (5 minutes)
Look for a small drain hole at the back, often at the bottom of the fridge compartment. Clear it with a cotton swab or a pipe cleaner. A clogged drain can cause pooled water and smells. Wipe air vents with a damp cloth, and use a toothbrush to dislodge dust or bits of food.
Step 5: Clean the door and gaskets (10 minutes)
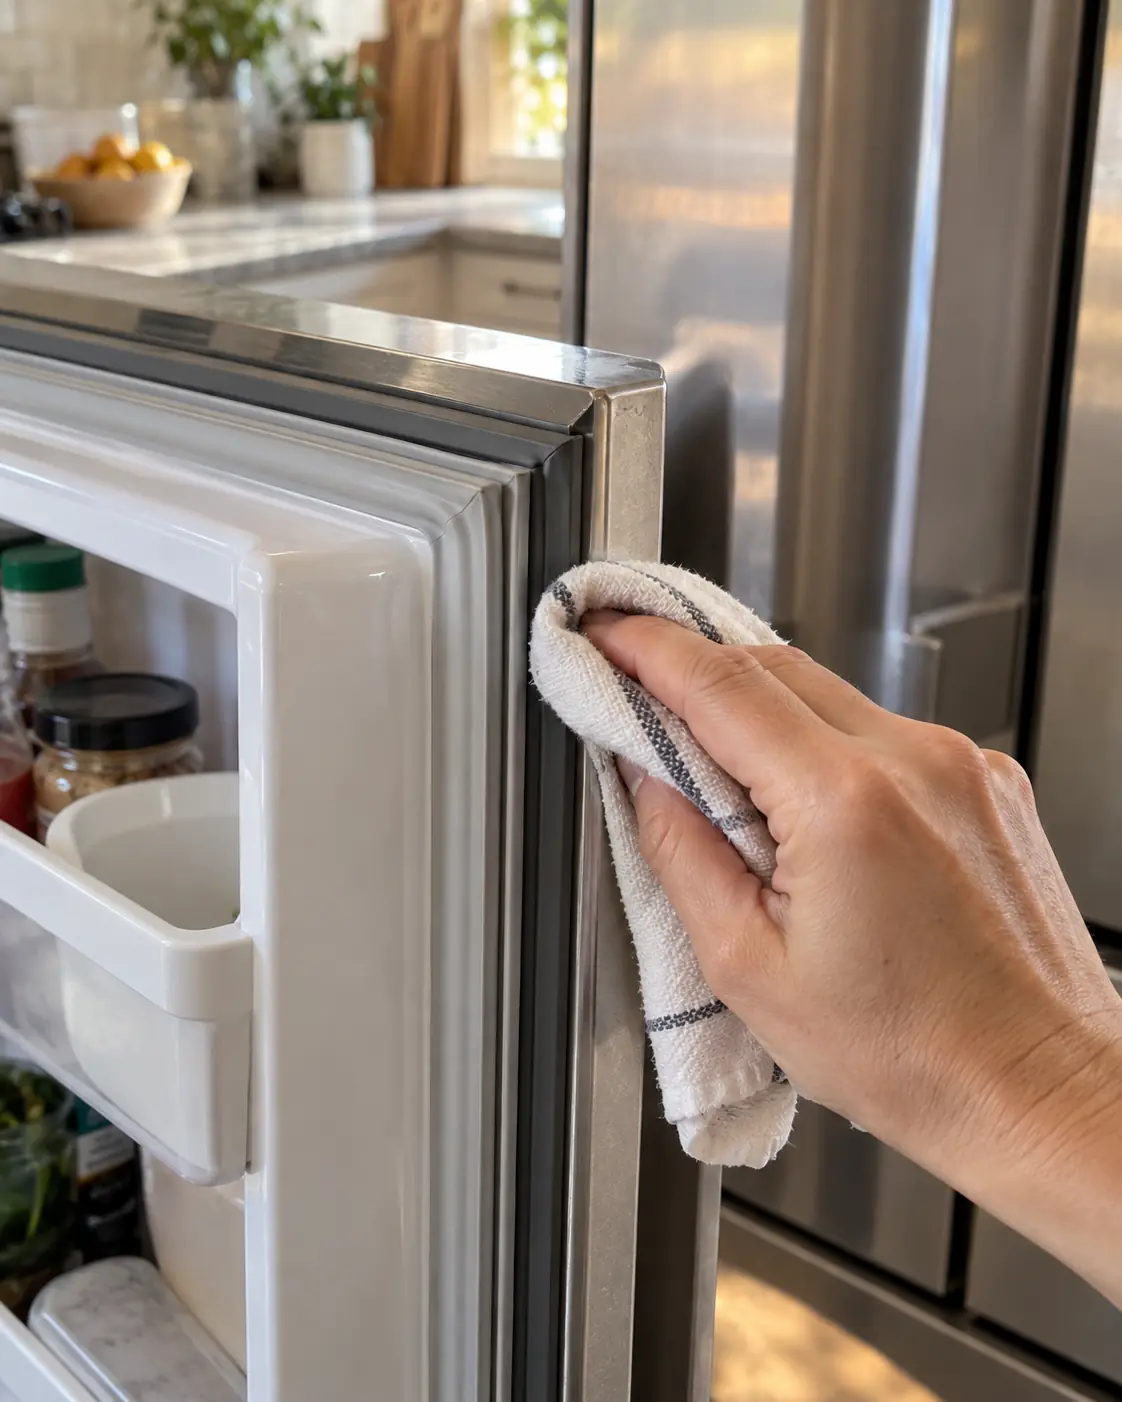
The rubber gasket (the seal around the door) has folds that trap crumbs and moisture. Dip a toothbrush in soapy water and scrub gently along the folds. Wipe with a damp cloth, then dry.
If you see black or green spots, mix a little white vinegar with water and wipe, then dry thoroughly. Vinegar suits many gaskets, but if your manual cautions against it, stick with soap. If mold keeps returning, or the seal is cracked or torn, replace it. A damaged seal also wastes energy.
Wipe the door shelves and the outside handle. Handles collect fingerprints and bacteria, so give them a wipe on the same schedule.
Step 6: Dry everything (5 minutes)
Moisture is what grows mold and carries odor. Go over the interior with a dry microfiber cloth. Leave the door open for a few minutes to let it air.
Step 7: Restock with a plan (10 to 15 minutes)
Put the shelves and drawers back, then arrange food by use.
| Zone | Best use |
|---|---|
| Top shelf | Ready-to-eat foods, leftovers, drinks |
| Middle shelf | Dairy, eggs (if not in a dedicated door bin) |
| Bottom shelf (coldest, in many fridges) | Raw meat and fish on a tray or in sealed containers |
| Crisper drawers | Fruit and vegetables, kept apart if possible |
| Door shelves | Condiments, juice. Warmer, so avoid milk and eggs if you can |
Keep raw meat below ready-to-eat food, so drips cannot land on it. Check your fridge’s manual if it names a different arrangement.
What to toss, and when
These are general guidelines. When in doubt, follow package dates and your own judgment, and when something smells off, throw it out.
| Item | General guidance |
|---|---|
| Opened condiments (ketchup, mustard) | Check the label. Many last for months, but watch for separation and smell |
| Leftovers | Eat within about 3 to 4 days |
| Cooked meat and poultry | About 3 to 4 days |
| Raw ground meat and poultry | Use within 1 to 2 days of purchase, or freeze |
| Milk | Check the date and smell. Sour smell means toss |
| Eggs | Follow the carton date |
| Cut fruit and vegetables | A few days. Toss if slimy or moldy |
| Deli meat (opened) | About 3 to 5 days |
| Unlabeled containers | If you cannot tell when, toss |
| Anything with visible mold | Toss. For soft food, mold can spread below the surface |
For more specific guidance, consult food safety information from reputable sources, such as your state or federal food safety agency.
Odor removal methods compared
If the fridge still smells after cleaning, find the source first. Odors usually come from spoiled food, a spill under a drawer, a clogged drain, or a mold-affected gasket.
| Method | How it works | Good for | Limits |
|---|---|---|---|
| Open box of baking soda | Absorbs odors over time | Light, general smells | Replace it every month or so. Does not fix a source |
| Activated charcoal | Absorbs odors | Stronger odors | Needs replacing. Follow the product guide |
| Coffee grounds (dry, in a dish) | Absorbs some smells | Temporary freshening | Can leave a coffee scent |
| Fresh cat litter in an open container | Strong absorption | Persistent odors | Keep away from food. Use sealed lids around it |
| Wiping with baking soda solution | Cleans and neutralizes | Light residue | Rinse and dry |
| Vinegar and water wipe | Cuts some odors | Mild mold smell | Rinse. Strong smell fades after drying |
| Removing the source | Fixes the cause | All cases | Requires hunting for it |
| Running with the door open | Airs out the interior | After cleaning | Do it briefly, not for hours |
Smells that return after a full clean can point to a clogged drain, hidden spoiled food at the back, a damp drip pan, or a gasket with mold in the folds. A persistent chemical or burning smell could be an electrical issue. Unplug the fridge and call a repair technician.
The freezer
A freezer needs less frequent cleaning, but it is easy to put off.
- Empty it into a cooler or an insulated bag. Frozen food will stay frozen for a while if the freezer stays closed, but plan for a short job.
- Check for freezer burn (white, dry patches on food). It is not a safety issue by itself but affects taste and texture.
- Remove drawers and shelves, wash in warm soapy water, and dry.
- Wipe the interior with a damp cloth and a little dish soap. Dry well, since moisture turns to frost.
- Defrost if needed. If ice has built up, unplug the unit or turn it off per the manual, leave the door open with towels underneath, and let it melt. Do not chip with a knife or sharp tool, which can puncture the lining or a refrigerant line.
- Clean the ice maker per the maker’s instructions. Discard old ice, wipe the bin, and replace the water filter on schedule.
- Restock and label foods with dates.
Frost-free models defrost automatically, but they still need a wipe and a check of the drain.
Condenser coils and the drip pan
Dust on the condenser coils makes the fridge work harder. Cleaning them once or twice a year, or more if you have pets that shed, is a common recommendation.
- Unplug the fridge (and turn off the ice maker’s water supply if you will be moving it a lot).
- Find the coils. They are at the back of the fridge or behind the bottom front grille, depending on the model. Your manual shows where.
- Remove the grille if needed.
- Vacuum with a brush attachment and use a coil brush for dust deep in the gaps.
- Check the drip pan (if your model has an accessible one) and wipe out standing water or grime.
- Plug back in and check that the fridge returns to temperature.
If you pull the fridge forward, protect the floor and move it gently. Pulling a heavy fridge across a hardwood or vinyl floor can scratch it, so use a cardboard sheet or sliders. Do not tug on water lines. If you are not comfortable moving it, skip this step or ask for help.
Skip this step: Pulling a fridge out, cleaning behind and under it, and scrubbing the gasket folds are the most tedious parts of the job. Our crews can clean the inside of your fridge as an add-on for $35, and it is included in a deep cleaning. Moving out? A move-out clean covers appliance interiors for a landlord’s inspection.
Fridge organization to stay clean
A little structure keeps the fridge cleaner between deep cleans.
- Use clear, labeled containers with dates.
- Put a tray or shallow bin under messy items like sauces and raw meat.
- Place a shelf liner or removable mat on glass shelves to catch spills. Wash it monthly.
- Keep a “eat first” bin for items close to their date.
- Do a weekly scan before grocery day.
- Avoid overpacking. Air needs to circulate for even cooling.
- Keep the temperature at a food-safe setting. A common guideline is 40 degrees Fahrenheit or below for the fridge and 0 degrees for the freezer. An inexpensive appliance thermometer will tell you.
Mistakes that damage fridges or leave smells
- Washing cold glass shelves in hot water. They can crack.
- Using bleach inside. It can leave odor and fumes near food.
- Using abrasive pads on plastic. Scratches trap grime.
- Skipping the drain hole. A clog leads to pooled water and smells.
- Spraying cleaner into vents and electronics. Apply it to a cloth.
- Leaving surfaces wet. Dry everything before restocking.
- Leaving food out too long. Use a cooler.
- Chipping ice with a knife. It can puncture the lining.
- Ignoring gaskets. Mold hides in the folds.
- Using scented sprays. They cover smells and can taint food.
- Forgetting the coils. Dust makes the fridge run harder.
A note on Orange County kitchens
Warm days and open windows are common here, and a warm kitchen makes a fridge work harder, so coil dust matters more. Santa Ana wind periods bring fine dust into homes, which can settle on the grille and coils. If you live in a coastal area, humidity can also encourage mold in gasket folds and drawers, so drying thoroughly after cleaning helps. These are general patterns, and your own kitchen may differ. If you are cleaning ahead of a move, our move-out cleaning checklist lists what landlords usually check, and for a full kitchen reset see our kitchen deep clean checklist.
Maintenance schedule
| When | What | Time |
|---|---|---|
| Daily | Wipe spills, close the door fully | Seconds |
| Weekly | Check dates, toss spoiled food, quick shelf scan | 5 minutes |
| Monthly | Wipe shelves and bins, check the produce drawers, replace the baking soda | 15 minutes |
| Every 3 to 4 months | Full interior clean, gaskets, drain | 45 to 90 minutes |
| Twice a year | Freezer clean, ice maker, coils, drip pan | 45 to 60 minutes |
| Per maker’s guidance | Water filter replacement | 5 minutes |
Frequently asked questions
How often should you deep clean your fridge? Every 3 to 4 months for a full interior clean, with spills wiped right away and a monthly shelf wipe. Households with kids, pets, or lots of fresh food may want to go on the shorter end.
What is the best way to clean the inside of a fridge? Empty it into a cooler, wash shelves and drawers in warm soapy water, wipe the walls with a baking soda or mild dish soap solution, clean the gaskets and drain, dry everything, then restock.
How do you get rid of a bad smell in the fridge? Find and remove the source first, such as spoiled food, a spill under a drawer, or a clogged drain. Then clean with baking soda solution, dry well, and keep an open box of baking soda or activated charcoal inside.
Should you unplug the fridge to clean it? Not for a normal interior clean. Unplug it when you clean the coils, defrost the freezer, or move the unit. If you unplug it, keep the door closed as much as possible and move food to a cooler for long jobs.
Can you use bleach to clean a refrigerator? It is better not to. Bleach can leave a smell that transfers to food, it is harsh on plastics, and it is dangerous if mixed with other cleaners. Mild soap and baking soda are enough. If you want to disinfect, check the appliance manual and use a food-safe product according to its label.
Can I use vinegar to clean the fridge? Diluted white vinegar can help with mild mold and odor on many surfaces. Check the manual first, avoid it on some seals and natural stone-look finishes, rinse, and dry. Never mix it with bleach.
Can I put fridge shelves in the dishwasher? Sometimes. Many are not dishwasher-safe because heat can warp plastic or crack glass. Check the manual or the markings.
How long can food stay out while I clean? A common guideline for perishables is no more than 2 hours, and 1 hour in hot weather. Use a cooler with ice packs to be safe.
Why does my fridge smell even after cleaning? Possible causes are a clogged drain, a mold-affected gasket, hidden spoiled food, a damp drip pan, or odors absorbed by plastic. Work through each, and unplug the unit if you notice a burning smell.
How do I clean a stainless steel fridge door? Wipe with the grain using a damp microfiber cloth and mild soap. See our guide on cleaning stainless steel appliances.
When to call a professional
A professional crew can clean the inside of a fridge as part of a larger reset, which makes sense when you are already paying for the rest of the kitchen. What you can do yourself is the routine: weekly checks, monthly wipes, and a deep clean a few times a year. Call an appliance technician instead of a cleaner if the fridge is not cooling, is leaking, makes unusual noises, or smells like something is burning.
To see what a fridge add-on or a full deep clean costs for your home, the instant quote takes about 30 seconds. For example, a 2 bedroom, 2 bathroom deep clean works out to ($60 + 2 x $25 + 2 x $35) x 1.5 = $270, and the inside-of-fridge add-on is $35 if you book a different service. You can also read about the deep cleaning checklist to see what else it covers.