Care Habits
How to clean tile floors without streaks (and keep grout bright)
Streaks on tile floors almost always come from three things: too much cleaner, dirty mop water, and minerals left behind as the floor dries. Sweep first, use a small amount of pH-neutral cleaner in warm water, change the water often, and dry the floor with a clean microfiber pad or towel. Do that and most tile floors dry clear.
This guide explains why streaks happen, how to choose a cleaner and a mop, what changes for ceramic, porcelain, and natural stone, how to handle grout, and what to do when the streaks are really a film that built up over months.
Quick answer
- Time: 20 to 40 minutes for an average kitchen and entry, longer for a whole house.
- Supplies cost: low. A bucket, a microfiber mop, and a small bottle of pH-neutral floor cleaner last for many cleanings.
- Difficulty: easy once the routine is right. The hard part is breaking the habit of adding more soap.
- How often: sweep or vacuum several times a week, damp mop weekly in busy areas, every two weeks in low-traffic rooms.
- Biggest mistake: more cleaner does not mean cleaner floors. Excess product is the usual cause of streaks.
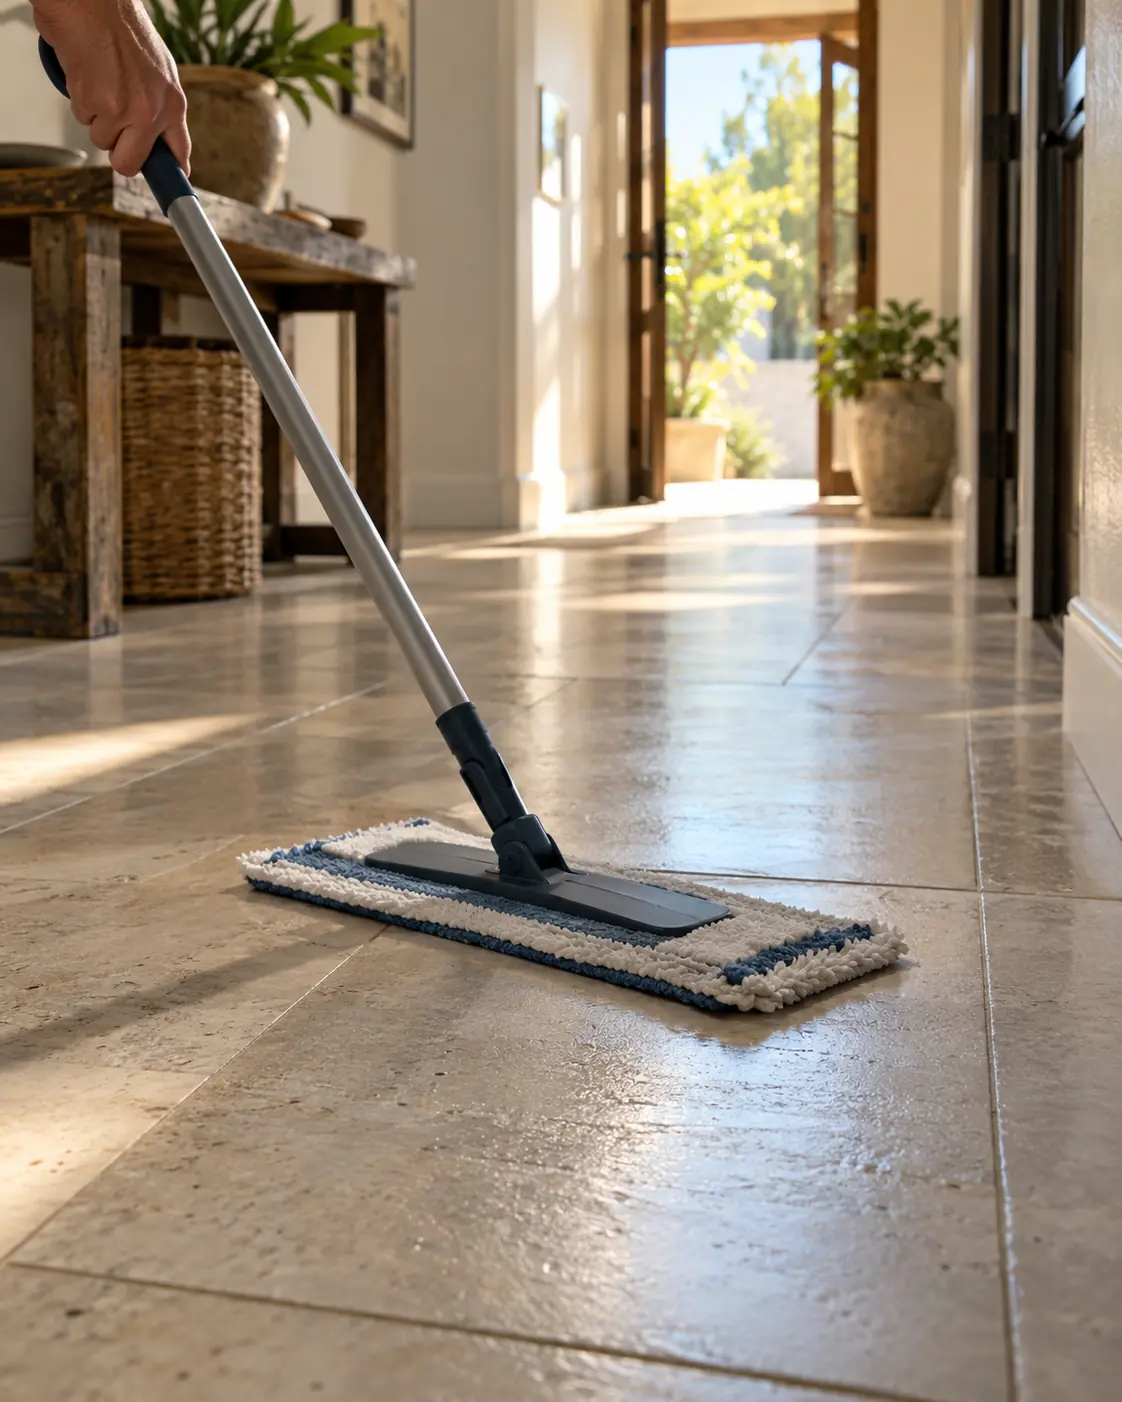
Why tile floors streak
Tile itself is rarely the problem. Glazed ceramic and porcelain are smooth and shed water. When a floor looks streaky, one of these is usually responsible.
| Cause | What it looks like | Why it happens |
|---|---|---|
| Too much cleaner | Cloudy, hazy patches that feel slightly slick or tacky | Surfactants and fragrance stay behind as the water evaporates |
| Dirty mop water | Gray stripes in the shape of mop passes | The mop is spreading soil instead of removing it |
| Hard water minerals | White or chalky streaks and dots, often dull | Calcium and magnesium stay when water dries |
| Dirty mop head | Smears that follow the mop’s pattern | A string mop or sponge holding old grease and soap |
| Wax, oil soap, or “shine” products | Uneven gloss, sticky film, dirt that clings | Products that leave a coating on the surface |
| Drying too slowly | Water pools and dries unevenly in grout lines and low spots | Evaporation leaves residue exactly where water sat longest |
| Sealer residue or wrong sealer | Hazy patches or dull blotches on stone or unglazed tile | Sealer that was not wiped off or an incompatible product |
The fix depends on the cause, which is why it helps to figure out which one you have before buying anything new. Test it: wipe a small section with a cloth dampened in plain warm water and dry it with a clean towel. If the streaks vanish, the issue was product or mop water. If they stay, you likely have a built-up film or mineral layer that needs a deeper clean.
Know your tile before you choose a cleaner
Using the wrong cleaner is how people damage tile instead of just streaking it. Identify the material first.
| Tile type | How to recognize it | Good approach | Avoid |
|---|---|---|---|
| Glazed ceramic | Glossy or satin surface, found in many kitchens and baths | pH-neutral cleaner, warm water, microfiber | Wax, oil soaps, abrasive powders that scratch the glaze |
| Porcelain | Very hard, often the same color through the body, matte or polished | pH-neutral cleaner, damp mop | Acid-heavy cleaners on a regular basis, sealer-sensitive finishes |
| Natural stone (travertine, marble, limestone, slate) | Natural variation, veining, softer to scratch | Stone-safe, pH-neutral cleaner only | Vinegar, lemon, acidic bathroom cleaners, harsh alkalis |
| Quarry tile | Unglazed red or brown, rough texture | Neutral cleaner and a stiff but non-metal brush | Heavy oil-based products that darken the surface |
| Textured or slip-resistant tile | Raised pattern or grit finish | Soft-bristle brush plus a mop | Mopping only with a flat mop, which skips grooves |
| Cement or encaustic tile | Patterned, matte, porous | Mild pH-neutral cleaner, minimal water | Soaking, acid, and untested products |
| Glass or metal accent tile | Shiny insets in floors or borders | Soft cloth, mild soap | Abrasives that scratch |
If you are not sure what you have, check any leftover tile boxes, the home’s documentation, or the builder’s specification sheet. A hidden spot test is the safest approach: apply the cleaner in a closet, under an appliance, or in a corner and see how it looks once dry.
Natural stone note: Stone is the reason the “just use vinegar” advice online is risky. Vinegar and other acids can etch and dull marble, limestone, and travertine, and even a small spot can leave a permanent dull mark. For stone, use a product labeled safe for natural stone and follow the label. Our guide on how to clean grout and tile includes more about spot testing stone.
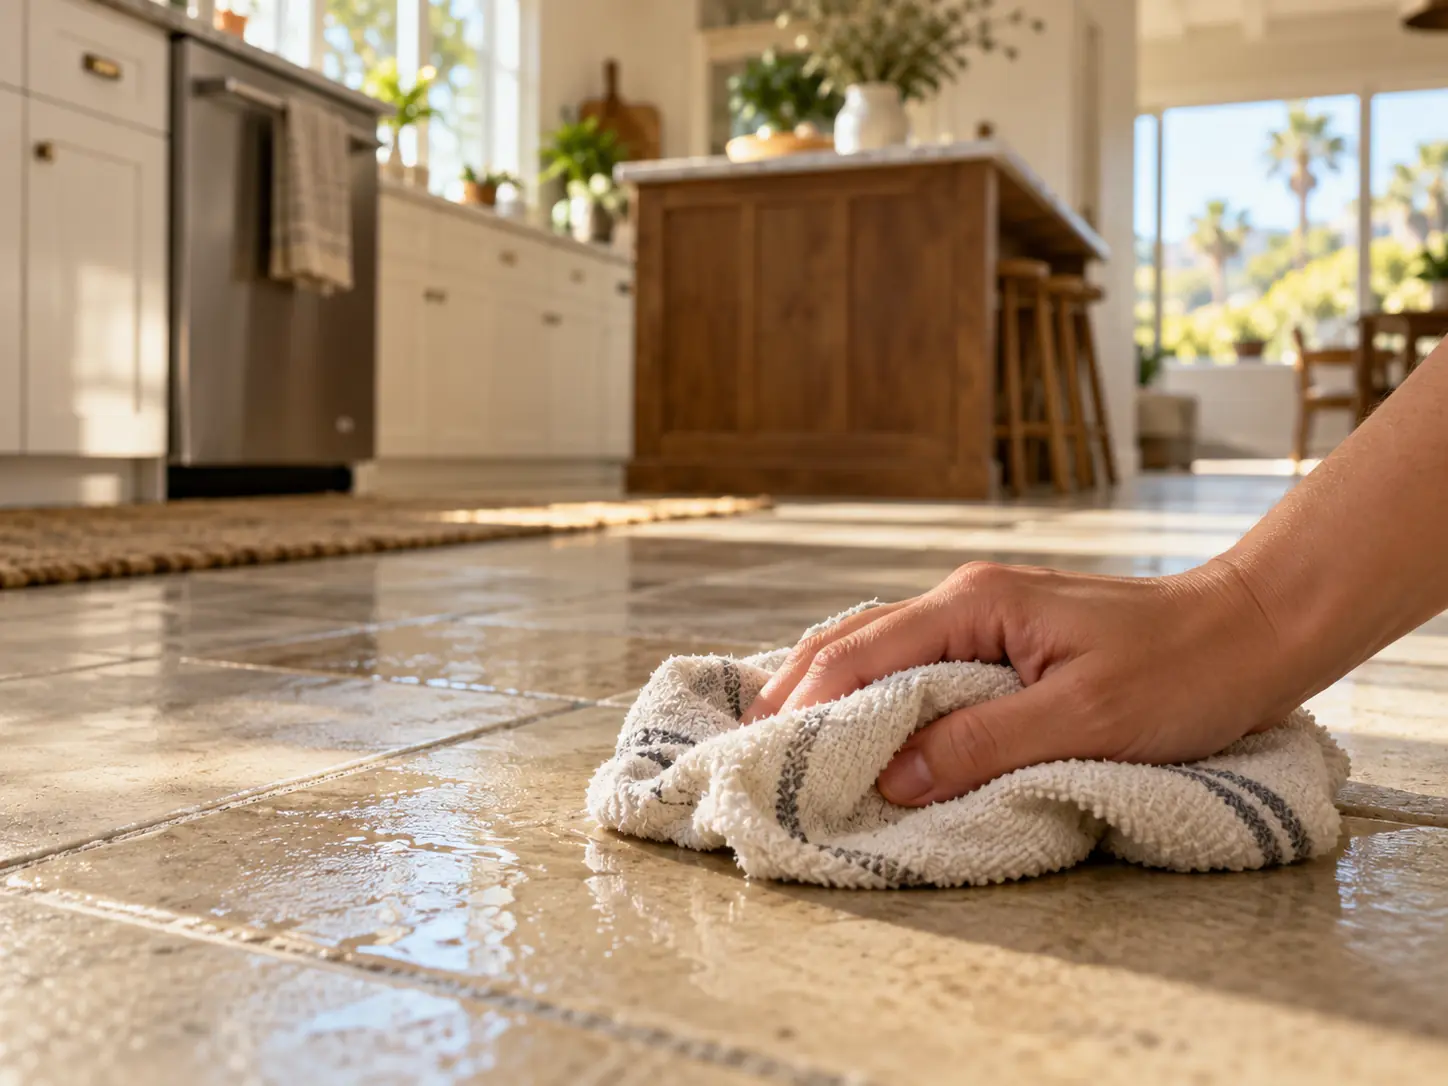
What you need
| Item | What it does | Notes |
|---|---|---|
| Broom, dust mop, or vacuum with a hard-floor setting | Removes grit before wet mopping | Grit scratches glazed finishes and smears when wet |
| Flat microfiber mop with washable pads | Picks up soil and absorbs water | Multiple pads let you swap as they get dirty |
| Two buckets (or one bucket with a divider) | Separates clean solution from rinse | The two-bucket method keeps dirty water off the floor |
| pH-neutral floor cleaner | Cuts light grease and soil with minimal residue | Look for “pH neutral” and “safe for tile and stone” on the label |
| Plain warm water | Rinsing and diluting | Distilled water helps if hard water is the problem |
| Dry microfiber towels or a spare dry pad | Buffs the floor dry | Prevents mineral spotting |
| Soft-bristle brush | Textured tile and grout lines | Nylon, not wire |
| Spray bottle (optional) | Applying small amounts of cleaner to sections | Helps control how much product you use |
| Gloves | Protects hands | Especially useful with stronger cleaners |
| Squeegee or wet-dry vacuum (optional) | For large tiled areas and wet rooms | Removes the water before it dries |
What not to use as a routine cleaner: steam mops on unsealed grout or natural stone (check the tile and mop manufacturers’ guidance), bleach as a general floor cleaner, wax or “shine” additives, oil soaps, ammonia-heavy window cleaner, and dish soap in generous amounts. A tiny drop of dish soap can work for a quick mop, but a squirt that foams in the bucket will leave residue.
Choosing the right mop
The mop matters as much as the cleaner. Many streaks are mop streaks.
| Mop type | Strengths | Weaknesses | Best for |
|---|---|---|---|
| Flat microfiber mop | Traps dirt in fibers, uses little water, pads can be washed and swapped | Needs a clean pad each section | Most smooth tile floors |
| String or cotton loop mop | Holds a lot of water, cheap | Gets dirty fast, sours if stored wet, tends to push gray water around grout | Occasional heavy rinsing if kept very clean |
| Sponge mop | Familiar | Pushes dirty water into grout lines, sponge head harbors bacteria and smells when old | Rarely the best choice for textured floors |
| Spray mop | Convenient, controlled moisture | Cartridge cleaners may leave residue, pads need frequent swaps | Quick touch-ups |
| Steam mop | Heat loosens soil and sanitizes surface | Can damage sealers, unsealed grout, and some natural stone, and forcing steam into grout may loosen it | Sealed ceramic and porcelain only, when both tile and mop makers allow it |
| Wet-dry vacuum | Removes dirty water instead of moving it | Cost and storage | Large areas, textured tile, heavily soiled floors |
A microfiber flat mop with two or three pads is the simplest setup for most homes. Wash pads after each use, skip fabric softener (it coats the fibers and reduces absorbency), and let them air dry or tumble dry on low if the label allows.
Step-by-step: the streak-free method
Step 1: Clear and dry-clean the floor (5 to 10 minutes)
Move chairs, rugs, and small items. Sweep or vacuum thoroughly, paying attention to the edges and corners, where soil gathers. Dust and sand turn into mud as soon as water touches them, and that mud is what leaves dull gray streaks.
Grit is also the main thing that scratches floors. Sandy grit from shoes is a real issue in Orange County, where homes near the coast and open lots collect fine sand and dust on entry floors.
Step 2: Mix the solution weaker than you think (2 minutes)
Check the label on your floor cleaner. Many concentrates call for a capful or less per gallon, and most people use far more than they need. Start at the low end of the label’s range. Fill the first bucket with warm water (not scalding) and add the cleaner. Fill the second bucket with plain warm water for rinsing the mop.
If your water is hard, consider mixing with distilled water, or use slightly less cleaner and make sure you dry the floor. Hard water mineral deposits dry as streaks, particularly on dark tile.
Why this works: less product means less to leave behind, and warm water helps dissolve soil without needing as much cleaner.
Step 3: Mop in sections, starting at the far side (15 to 25 minutes)
Plan your route so you finish at the exit and do not walk on wet floor. Work in sections of about 4 by 4 feet.
- Wring the pad until it is damp, not dripping.
- Mop in overlapping straight lines or a gentle figure eight. Straight lines show less pattern when the floor is viewed in side light, but either works if you go slowly and consistently.
- Turn the pad or flip it when one side is dirty.
- Rinse the pad in the rinse bucket, wring it, then dip it into the cleaning bucket. This is the two-bucket method, and it keeps soil out of the cleaning solution.
- Replace the water when it turns gray. In a larger home, this might mean several changes, and that is normal.
For dried spots, let the damp pad sit on the spot for 20 to 30 seconds before wiping. Do not scrub hard on glazed tile with stiff brushes. A soft brush is fine for textured tile and grout lines.
Step 4: Rinse (5 to 10 minutes)
This step is the one most people skip, and it makes the biggest difference when streaks are a recurring problem. Go back over the floor with a clean pad dampened in plain warm water to pick up leftover cleaner. Rinse the pad often. If the floor already has a film, you may need two rinse passes.
Step 5: Dry as you go (5 to 10 minutes)
Dry the floor right behind the mop using a clean dry microfiber pad, a flat mop with a dry pad, or a soft towel pushed with your foot or a mop. This removes the last moisture before minerals and residue settle. It sounds like extra work, but it can cut the time you spend chasing streaks afterward.
Open windows or run a fan to speed drying and avoid water sitting in grout lines. Keep pets and family off until the floor is dry. Wet tile can be slippery, so warn guests.
Step 6: Check in side light (1 minute)
Look across the floor from a low angle with light coming from a window. Streaks show clearly this way. If you find hazy patches, buff them with a dry towel or re-rinse that section with plain water and dry it. Do not add more cleaner to fix a streak that came from cleaner.
Handling grout while you mop
Grout is porous, sits lower than the tile, and holds dirty water. A mop passes over it and leaves moisture, which dries into gray lines. A few habits help.
- Brush textured or deep grout lines. Use a soft nylon brush with the cleaning solution before the mop pass, so the mop picks up the loosened soil.
- Use a baking soda paste for stained lines. Work it in with a brush, wait 10 to 15 minutes, and rinse well. Left behind, baking soda leaves a chalky film that looks like a streak.
- Check whether the grout is sealed. Drip water on a grout line. If it beads, the seal works. If it darkens and soaks in, the grout absorbs dirty mop water and will stain faster. See our guide to cleaning grout and tile for the sealing test and resealing steps.
- Do not use bleach routinely. It can discolor colored grout, and it does not fix porous staining.
- Avoid acidic cleaners on cement-based grout. Strong acids can erode it over time.
Bright grout is mostly about keeping dirt from getting inside it. Clean it regularly, dry it, and seal it when it stops beading water. Our guide on preventing mold and mildew in the bathroom covers moisture control in bathrooms, where tile floors face the most water.
Fixing floors that are already streaky or cloudy
If your floor streaks no matter what you do, the problem is probably an accumulated film. Weeks or months of cleaner, wax, or mineral residue form a layer that new streaks show through.
Step 1: Test what the film is
Dampen a corner of a white cloth with plain warm water and rub a small area firmly. If gray or tacky residue comes off, you have a soap, wax, or oil film. If the surface is white and chalky and the cloth drags, you probably have mineral buildup.
Step 2: Strip soap or wax film
Mix a small amount of a pH-neutral cleaner with warm water at the label’s recommended strength, or use a label-approved floor stripper for tile. Let it sit on the floor for a few minutes (do not let it dry), agitate lightly with a soft brush or pad, and pick it up with a clean pad or wet-dry vacuum. Then rinse twice with plain water. Residue left from the stripping step is a common reason the problem returns.
Step 3: Dissolve mineral deposits (ceramic and porcelain only)
On sealed, glazed ceramic or porcelain, a mild acidic cleaner made for tile, or a diluted white vinegar solution as a spot treatment, can dissolve light mineral film. Use it briefly, rinse thoroughly, and never use it on natural stone, cement-based grout you want to preserve, or tile with a coating you are unsure about. Test a hidden corner first. Never combine vinegar with bleach or any chlorine product.
Hard water scale on tile is covered at greater length in our guide on how to remove hard water stains.
Step 4: Rinse, dry, and check
After stripping or descaling, rinse the entire floor with clean water, dry it, and check in side light. Then return to the light routine from the step-by-step method above, using less cleaner than before.
Skip this step: stripping an old film from a large tiled floor, then rinsing and drying it section by section, is hours of work. Our deep cleaning service includes floor detail work. For a 3 bedroom, 2 bathroom home, the price is (60 + 25 x 3 + 35 x 2) x 1.5 = $205 x 1.5 = $307.50. You can see your exact number with the instant quote.
Troubleshooting table
| Problem | Likely cause | Fix | When it will not work |
|---|---|---|---|
| Gray streaks in the shape of the mop | Dirty water or pad | Change water more often, use fresh pads, rinse | Floor already has a thick film (strip it first) |
| White chalky streaks | Hard water minerals | Dry right after mopping, use distilled water for the final rinse, spot-treat with a tile-safe descaler on glazed tile | Etched or permanently stained surface |
| Hazy cloud that returns every week | Too much cleaner or a coating product | Use less cleaner, strip the film, rinse twice | Sealer residue that needs professional removal |
| Sticky or tacky feeling | Soap, oil soap, or sugary spills | Rinse with warm water, use less product | None, usually fully fixable |
| Dull patches on stone | Acid etching | A stone restoration professional may be able to hone and polish | Etch marks cannot be cleaned away |
| Streaks only in grout lines | Dirty mop water carried into the grout | Brush grout separately, clean it, seal it | Deeply stained, unsealed grout |
| Uneven shine | Wax or mixed products | Strip and start over with one neutral cleaner | Worn glaze |
| Streaks after using a steam mop | Residue loosened and redeposited, or unsealed grout reacting | Hand-clean and rinse, check manufacturer guidance | Damage to grout or sealer |
| Slippery after mopping | Too much cleaner left | Rinse again with plain water and dry | Smooth porcelain is slick when wet by nature |
Mistakes that cause streaks or damage
- Adding extra cleaner “to be safe.” The most common cause of streaks.
- Mopping dry grit. Sweep or vacuum first.
- Using one bucket from start to finish. The water becomes a soil solution.
- Letting the floor air dry in hard water. Minerals stay behind. Dry it.
- Using wax, oil soap, or “shine” products on tile. Tile does not need them, and they trap dirt.
- Using vinegar on natural stone. It can etch permanently.
- Soaking the floor. Water in grout and under loose tiles causes staining and other problems.
- Using steam on unsealed grout or stone without checking. Heat and moisture can harm sealers and loosen grout.
- Washing pads with fabric softener. It reduces absorbency and causes smearing.
- Mixing cleaners. Bleach with ammonia or acids creates dangerous gas. Our guide on cleaning products you should never mix has details.
Cleaner types compared
| Cleaner type | Best for | Avoid on | Notes |
|---|---|---|---|
| pH-neutral floor cleaner | Everyday cleaning of ceramic, porcelain, sealed stone | Nothing common, but follow the label | Lowest chance of residue or damage |
| Dish soap, tiny amount | Light mopping in a pinch | Natural stone, if it contains additives you are unsure of | Use a few drops per gallon at most |
| Diluted white vinegar | Occasional descaling on sealed glazed tile | Natural stone, cement grout, unsealed surfaces | Not a daily cleaner, rinse well |
| Oxygen bleach (sodium percarbonate) | Stained grout, deep clean | Colored grout without a test | Mix per label, rinse well |
| Tile and grout acid cleaner | Heavy mineral buildup on glazed tile | Stone, unsealed grout | Use gloves and ventilation |
| Stone-specific cleaner | Marble, travertine, limestone, slate | Not applicable | Look for “safe for natural stone” |
| Oil soap or wax-based product | Not recommended for tile | Most tile | Builds a film that holds dirt |
| Chlorine bleach | Spot treatment of mildew, if needed | Colored grout, stone, mixed with other cleaners | Rinse, ventilate, never mix |
Keeping floors streak-free after you clean
Prevention costs less than correction.
| Frequency | Task | Time |
|---|---|---|
| Daily, high-traffic areas | Quick sweep or dry microfiber pass, wipe obvious spills | 2 to 5 minutes |
| Several times a week | Vacuum or sweep entryways and kitchen | 5 to 10 minutes |
| Weekly | Damp mop kitchen, baths, and entries | 20 to 30 minutes |
| Every two weeks | Damp mop low-traffic rooms | 15 to 20 minutes |
| Monthly | Wash mop pads, scrub grout lines lightly, check sealing | 20 to 30 minutes |
| Every 12 to 18 months (guideline) | Test grout seal and reseal if water no longer beads | 1 to 2 hours plus curing time |
Other habits that help:
- Doormats outside and inside. They catch grit before it reaches tile.
- Shoes off. Soil from shoes is a major source of floor dirt. Our guide on keeping a clean home with pets has more on entryway systems.
- Wipe spills quickly. Sticky spills left to dry become hard to remove and later show as streaks.
- Use felt pads on furniture and chair legs. They protect glazed surfaces from scratches.
- Keep a dedicated floor-only cloth. Do not reuse kitchen or bathroom rags.
If you want a broader routine, see our weekly house cleaning checklist and the guide on how to clean house fast.
Orange County angle
Some local conditions come up often with tile floors in Orange County.
- Hard water. Many Orange County communities have hard water, with differences between cities and water districts. Check your local utility’s annual water quality report. Hard water is why mineral streaks show up so often on dark tile, and why drying the floor after mopping matters more here than the cleaner you choose.
- Sand and fine dust. Coastal sand, dry-season dust, and dust carried by Santa Ana winds collect at entryways and can scratch glazed tile if dragged by dry mops. Sweep or vacuum before every wet pass.
- Slab homes and tile everywhere. Many OC homes sit on concrete slabs and use tile in kitchens, entries, and bathrooms, and sometimes throughout the home. That is a lot of floor, so a good routine is worth building.
- Coastal humidity. Homes closer to the coast can stay humid, which slows drying and encourages mildew in grout. Good airflow and fast drying help.
- HOA and condo rules. In condos, rules sometimes limit what flooring changes are allowed. If you are considering refinishing or replacing tile, check with your association first.
When to call a professional
You can handle most weekly tile cleaning yourself in under half an hour once the routine is set. A professional makes sense when:
- The floor has a thick film and you do not want to spend a weekend stripping and rinsing it.
- You are preparing for a sale, a rental turnover, or a move-out. Our move-out cleaning service covers floors, and the security deposit guide explains what tends to matter to landlords.
- Large tiled areas, textured tile, or many grout lines make the job physically hard.
- You have natural stone that looks etched or stained. A stone restoration specialist, not a house cleaner, can hone and polish stone, so ask a specialist for that.
- Grout is deeply stained or crumbling. That may be a regrouting job.
A cleaner will not regrout, reseal stone, or repair cracked tile, and it is better to know that up front. What a regular cleaner does is keep floors from reaching the stage where they need rescuing.
Regular visits keep the routine consistent. For a 3 bedroom, 2 bathroom home, recurring cleaning is (60 + 25 x 3 + 35 x 2) x 1.0 = $205, and with the biweekly discount of 15 percent it comes to $205 x 0.85 = $174.25 per visit. New customers also get $39 off the first clean. Run your own numbers with the instant quote.
Frequently asked questions
What is the best way to clean tile floors without leaving streaks? Sweep first, mop with a small amount of pH-neutral cleaner in warm water, change the water as it gets gray, rinse with plain water, and dry with a clean microfiber pad or towel. Using less cleaner and drying the floor are the two changes that help most.
Why do my tile floors look streaky after mopping? Usually because of too much cleaner, dirty mop water, hard water minerals, or a coating product like wax or oil soap. A test with plain water on a small area helps you tell which one it is.
Can I use vinegar to clean tile floors? On sealed glazed ceramic or porcelain, a diluted vinegar solution can be used occasionally, then rinsed. Do not use it on natural stone, and it is not ideal as a daily cleaner on cement grout. Never mix it with bleach.
Is it better to mop tile with hot or cold water? Warm water works well. Very hot water is not needed for most tile, can evaporate fast and leave streaks, and may be unkind to some sealers. Follow the cleaner’s label.
Should I rinse tile after mopping? If you use a cleaner that leaves residue, or if your floor streaks, yes. A plain-water rinse pass picks up leftover product and often fixes the problem.
Can I use a steam mop on tile? On sealed ceramic or porcelain with intact grout, many steam mops are fine, but check both your tile and mop manufacturers’ guidance. Avoid steam on natural stone, unsealed grout, and loose or cracked tile.
What kind of mop is best for tile floors? A flat microfiber mop with several washable pads is a good default. It uses little water, traps soil, and lets you swap pads as they get dirty. Textured tile may need a soft brush or a wet-dry vacuum.
How do you get hard water streaks off tile? Dry the floor right after mopping, use a final rinse of distilled water if needed, and treat existing deposits on sealed glazed tile with a tile-safe descaler or a brief diluted vinegar treatment. Skip acids on natural stone.
How often should you mop tile floors? Weekly for kitchens, baths, and entries, and every one to two weeks for low-traffic rooms. Sweep or vacuum more often to keep grit down.
How do I keep grout looking bright? Clean it regularly with a soft brush and neutral cleaner, avoid letting dirty mop water sit in it, dry the floor, and reseal when water stops beading. Stained grout can be treated with an oxygen bleach paste after a spot test.